Chocolate Peppermint Kiss Cookies Recipe
If you love the holidays and all things peppermint and chocolate, then this Chocolate Peppermint Kiss Cookies Recipe is going to become your new favorite tradition. I’ve made these cookies countless times, and people always ask for the recipe—the combination of rich cocoa-flavored dough rolled in sugar and topped with a minty candy cane Hershey Kiss is just unbeatable. Whether you’re baking for a festive party, a cozy night in, or simply craving some comforting sweets, these cookies never disappoint.
What makes this Chocolate Peppermint Kiss Cookies Recipe special is how easy it is to pull together, yet how impressive it looks and tastes. The chewy chocolate base perfectly balances the refreshing peppermint, and the sugar coating gives each bite just the right amount of crunch. Trust me, once you try this recipe you’ll find yourself sneaking bites while the cookies are still warm from the oven!
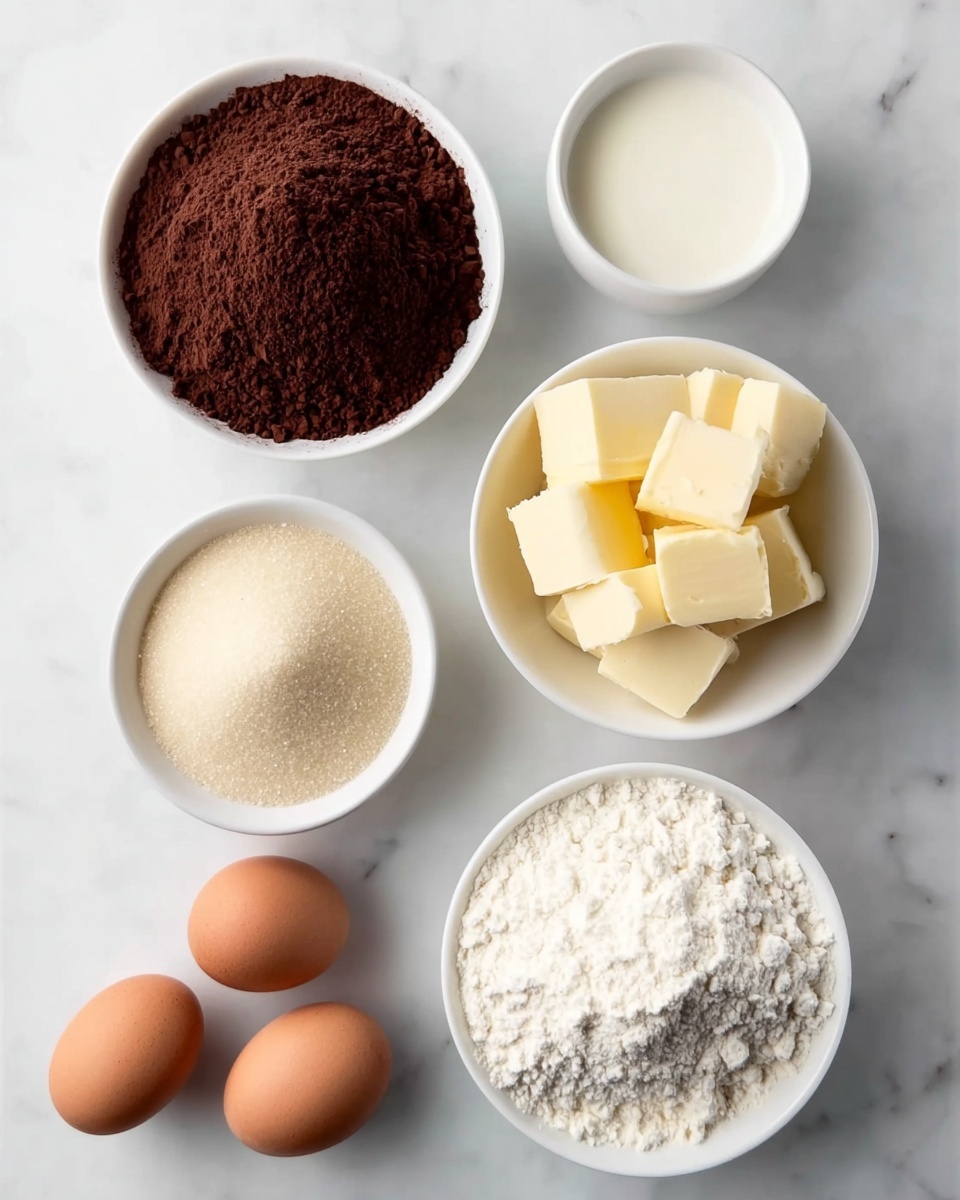
Ingredients You’ll Need
Every ingredient in this recipe plays a crucial role in creating those perfectly chewy and chocolaty cookies that hug the peppermint center. Here’s a quick rundown of what you’ll need and why these ingredients work so well together.
- All-purpose flour: Using spooned and leveled flour ensures you don’t end up with a dense cookie dough, keeping your texture light yet chewy.
- Dutch process cocoa powder: This gives the cookies a deep, rich chocolate flavor with less acidity for mellow sweetness.
- Baking powder & baking soda: Both are vital—baking powder gives lift while baking soda helps with browning and subtle crisp edges.
- Salt: Enhances flavor and balances the sweetness from brown and granulated sugar.
- Unsalted butter: Softened butter adds richness and keeps the cookies tender. Don’t melt it or your dough might get greasy!
- Light brown sugar: Packed brown sugar adds moisture and caramel notes that work beautifully with chocolate.
- Granulated sugar: Part in the dough and part for rolling—this helps create a subtle crunch on the outside.
- Egg yolks: Richness and softness for the cookies; make sure they’re at room temperature for better mixing.
- Vanilla extract: A classic flavor booster that rounds out the chocolate and peppermint perfectly.
- Candy Cane Hershey Kisses: The star topping. Freezing them first makes it easier to press into the cookies without melting.
Variations
I love making this Chocolate Peppermint Kiss Cookies Recipe my own by switching up the toppings or adjusting flavors to match my mood or the season. Feel free to get creative—you’ll enjoy discovering your favorite spin!
- Without peppermint: I sometimes swap the Candy Cane Hershey Kisses for classic milk chocolate or dark chocolate Kisses when I want a simpler cookie.
- Gluten-free: You can try a 1-to-1 gluten-free flour mix. Just keep an eye on the dough texture since it may be a bit more delicate.
- Extra minty: Add a teaspoon of peppermint extract to the dough for an extra mint punch—just a little goes a long way!
- Festive sprinkles: For holiday parties, rolling the dough balls in red and green sugar crystals instead of plain granulated sugar looks so festive.
How to Make Chocolate Peppermint Kiss Cookies Recipe
Step 1: Prep and chill your Hershey Kisses
Before you even make the dough, pop your Candy Cane Hershey Kisses in the freezer for at least 30 minutes. This helps them keep their shape and prevents melting when you press them into the hot cookies later. I usually freeze mine while mixing up the dough, so no extra downtime.
Step 2: Whip up the butter and sugars
In a large bowl, cream the softened butter, light brown sugar, and granulated sugar together until fluffy and pale—about 3 to 4 minutes with a hand or stand mixer. This step is essential for light, chewy cookies, so don’t rush it. You’ll notice the sugars start to dissolve, which also helps with the perfect cookie texture.
Step 3: Add egg yolks and vanilla
Beat in the two egg yolks one at a time, making sure each is fully incorporated before adding the next. Then pour in the vanilla extract. Using just the yolks keeps these cookies rich and tender, which pairs so well with the peppermint kiss.
Step 4: Combine your dry ingredients
In a separate bowl, whisk together the flour, Dutch process cocoa powder, baking powder, baking soda, and salt. Make sure those dry ingredients are well combined so you get an even chocolate flavor throughout the dough. I like to sift the cocoa powder to avoid any lumps.
Step 5: Mix dry ingredients into the wet
Slowly add the dry ingredients to the wet mixture, mixing just until everything is combined. Don’t overmix here—you want the dough cohesive but still tender. If the dough feels too sticky, pop it into the fridge for 10-15 minutes to firm up, which helps when rolling.
Step 6: Form and sugar the cookie balls
Preheat your oven to 350°F (175°C). Roll the dough into one-inch balls, then roll each ball in granulated sugar for that extra sparkle and crunch. I find using slightly damp hands (just water, no oil) helps prevent the dough sticking everywhere—lesson learned the hard way!
Step 7: Bake and add the kisses
Place the sugared dough balls on a baking sheet lined with parchment paper, spacing them about 2 inches apart. Bake for 8 to 10 minutes—the edges will be set but the center should still be soft. Immediately press a frozen Candy Cane Hershey Kiss into the center of each cookie when they come out of the oven. They’ll soften just enough to stick without melting completely.
Step 8: Cool and enjoy!
Let the cookies cool on the baking sheet for 5 minutes before transferring them to a wire rack. This is when the chocolate peppermint kiss sets perfectly without sinking too deep. If you try to move them too soon, the kisses might fall off, so patience here pays off!
How to Serve Chocolate Peppermint Kiss Cookies Recipe
Garnishes
I usually keep garnishes simple since the Peppermint Kiss itself is pretty eye-catching. A light dusting of powdered sugar or crushed candy canes sprinkled around the serving plate adds a festive touch. Sometimes I toss a few broken peppermint candies on top for texture contrast and extra minty goodness.
Side Dishes
These cookies pair wonderfully with a warm mug of hot cocoa, peppermint mocha, or even a simple glass of cold milk. For holiday gatherings, I like arranging them alongside gingerbread or shortbread cookies for a festive cookie platter that’s sure to impress.
Creative Ways to Present
For Christmas parties or gift boxes, I’ve wrapped small stacks with festive ribbon and added a sprig of fresh evergreen or candy cane. You can also serve the cookies in a decorative tin lined with wax paper, or float a few in a pretty bowl filled with miniature marshmallows for a winter-themed display. Presentation makes these cookies feel extra special!
Make Ahead and Storage
Storing Leftovers
I store leftover Chocolate Peppermint Kiss Cookies in an airtight container at room temperature. They keep well for about 4-5 days and stay chewy, but I always find they taste best within the first two days. If you happen to live in a humid climate, popping the container with a packet of silica gel or storing in a cool place helps prevent sogginess.
Freezing
You can freeze these cookies before or after baking. I like to bake them and then freeze fully cooled cookies layered between parchment paper in a freezer-safe container. They freeze beautifully for up to 3 months, and when you want a sweet treat, just thaw at room temperature for about an hour.
Reheating
To enjoy warm cookies after freezing, I heat them in the oven at 300°F (150°C) for about 5 minutes. This brings back the fresh-baked softness and revives the melty peppermint kiss without making the cookies too hot or dry.
FAQs
-
Can I use regular Hershey Kisses instead of Candy Cane flavor in the Chocolate Peppermint Kiss Cookies Recipe?
Absolutely! While the traditional recipe calls for Candy Cane Hershey Kisses to get that peppermint-chocolate combo, you can switch to classic milk or dark chocolate Kisses for a simpler variation. The cookies will still be delicious, just with a less minty finish.
-
Why do I need to freeze the Hershey Kisses before adding them to the cookies?
Freezing the Kisses helps prevent them from melting too quickly when you press them into the warm cookies right from the oven. This keeps their shape intact and your cookies looking neat and professional.
-
Can I make the dough ahead of time?
Yes! You can prepare the dough, shape it into balls, and freeze them before baking. When ready to bake, just add a few extra minutes to the baking time and press in the frozen Kisses. This is perfect for busy days or making cookies for special events in advance.
-
How do I keep the cookies soft for longer?
Storing your cookies in an airtight container at room temperature is key. Adding a slice of bread in the container can help maintain moisture and keep the cookies soft for a few extra days!
-
Can I make this cookie recipe dairy-free?
It’s possible to swap the unsalted butter for a dairy-free alternative like coconut oil or vegan butter. However, keep in mind the texture and taste might differ slightly, and you’ll want to make sure your Candy Cane Kisses are also dairy-free or find a suitable substitute.
Final Thoughts
This Chocolate Peppermint Kiss Cookies Recipe holds a special place in my kitchen — it’s that perfect blend of cozy chocolate and refreshing mint that instantly feels like home and holiday cheer all rolled into one bite. I can’t recommend giving it a try enough, especially if you want to impress friends or just treat yourself. So grab those Hershey Kisses, gather your ingredients, and let’s make some magic happen with these delightful cookies—you’ll be glad you did!
Print
Chocolate Peppermint Kiss Cookies Recipe
- Prep Time: 20 minutes
- Cook Time: 10 minutes
- Total Time: 1 hour 30 minutes
- Yield: 34 cookies 1x
- Category: Dessert
- Method: Baking
- Cuisine: American
Description
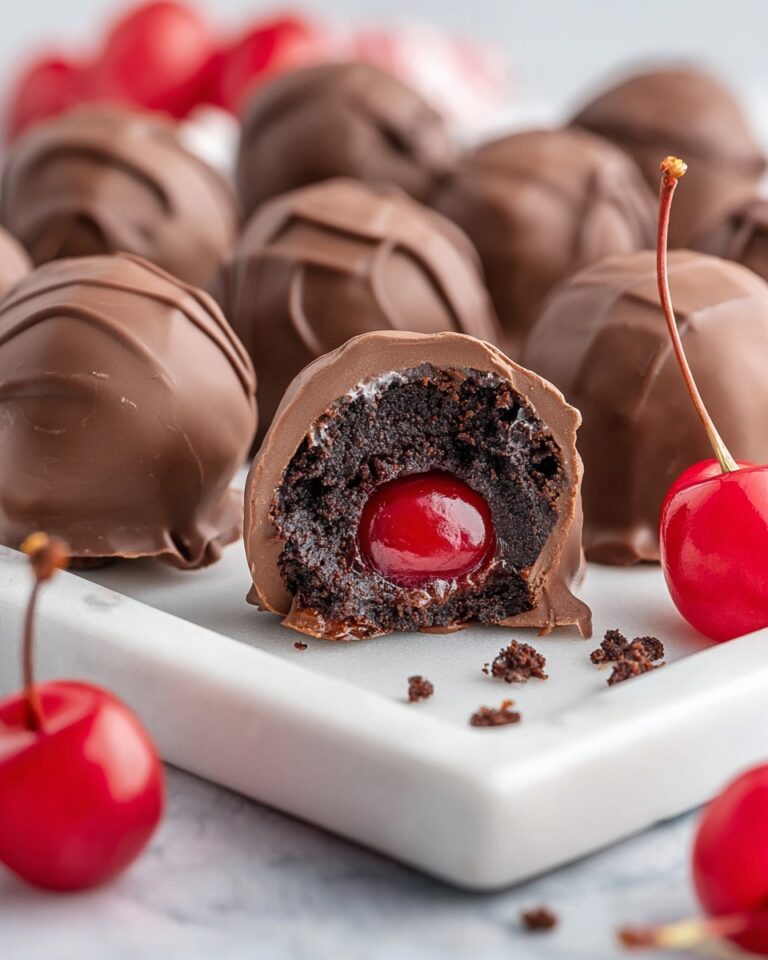
These Chocolate Peppermint Kiss Cookies combine a rich, fudgy chocolate base with a refreshing peppermint surprise at the center. Finished with a classic Hershey’s Candy Cane Kiss on top, these cookies are perfect for the holiday season or any time you crave a festive treat.
Ingredients
Dry Ingredients
- 1 1/2 cups (188 g) all-purpose flour, spooned and leveled
- 1/2 cup (40 g) Dutch process cocoa powder
- 1/2 tsp baking powder
- 1/2 tsp baking soda
- 1/2 tsp salt
Wet Ingredients
- 3/4 cup (168 g) unsalted butter, softened
- 3/4 cup (165 g) light brown sugar, packed
- 1/4 cup (50 g) granulated sugar
- 2 egg yolks, at room temperature
- 1 tsp vanilla extract
Toppings
- 34 Candy Cane Hershey Kisses, frozen
- 1/4 cup (50 g) granulated sugar for rolling dough balls
Instructions
- Prepare Dry Ingredients: In a medium bowl, whisk together the all-purpose flour, Dutch process cocoa powder, baking powder, baking soda, and salt until evenly combined. Set aside.
- Cream Butter and Sugars: In a large mixing bowl, use a hand mixer or stand mixer to cream softened unsalted butter with light brown sugar and granulated sugar until the mixture is light and fluffy, about 3-4 minutes.
- Add Egg Yolks and Vanilla: Beat in the egg yolks one at a time, ensuring each is fully incorporated before adding the next, then mix in the vanilla extract until combined.
- Combine Wet and Dry Mixture: Gradually add the dry ingredients to the wet mixture, mixing on low speed until just combined. Avoid overmixing to keep cookies tender.
- Chill Dough: Cover the dough with plastic wrap and refrigerate for at least 1 hour, allowing it to firm up for easier handling and better texture.
- Preheat Oven and Prepare Baking Sheet: Preheat your oven to 350°F (175°C). Line baking sheets with parchment paper or silicone baking mats.
- Shape Dough Balls and Roll in Sugar: Scoop the dough into 1 1/2 tablespoon-sized balls, then roll each ball in the 1/4 cup granulated sugar to lightly coat.
- Place on Baking Sheet and Bake: Arrange dough balls on the prepared baking sheet, spacing them about 2 inches apart. Bake for 8-10 minutes, until tops are set but centers remain soft.
- Add Hershey Kisses: Remove baking sheets from oven and immediately press one frozen Candy Cane Hershey Kiss into the center of each cookie. The cookie will crack slightly around the edges, which is expected.
- Cool Completely: Allow the cookies to cool on the baking sheet for 10 minutes to set, then transfer to a wire rack to cool completely before serving or storing.
Notes
- Freezing the Hershey Kisses before adding them helps prevent excessive melting during baking.
- Be careful not to overbake the cookies; they should appear slightly soft in the center to maintain a chewy texture.
- Use Dutch process cocoa powder for a richer chocolate flavor.
- The dough benefits from chilling—it helps the cookies keep their shape while baking.
- Store cookies in an airtight container at room temperature for up to 5 days or freeze for longer storage.
Keywords: Chocolate Peppermint Kiss Cookies, Hershey Kiss Cookies, Holiday Cookies, Chocolate Cookies, Peppermint Cookies