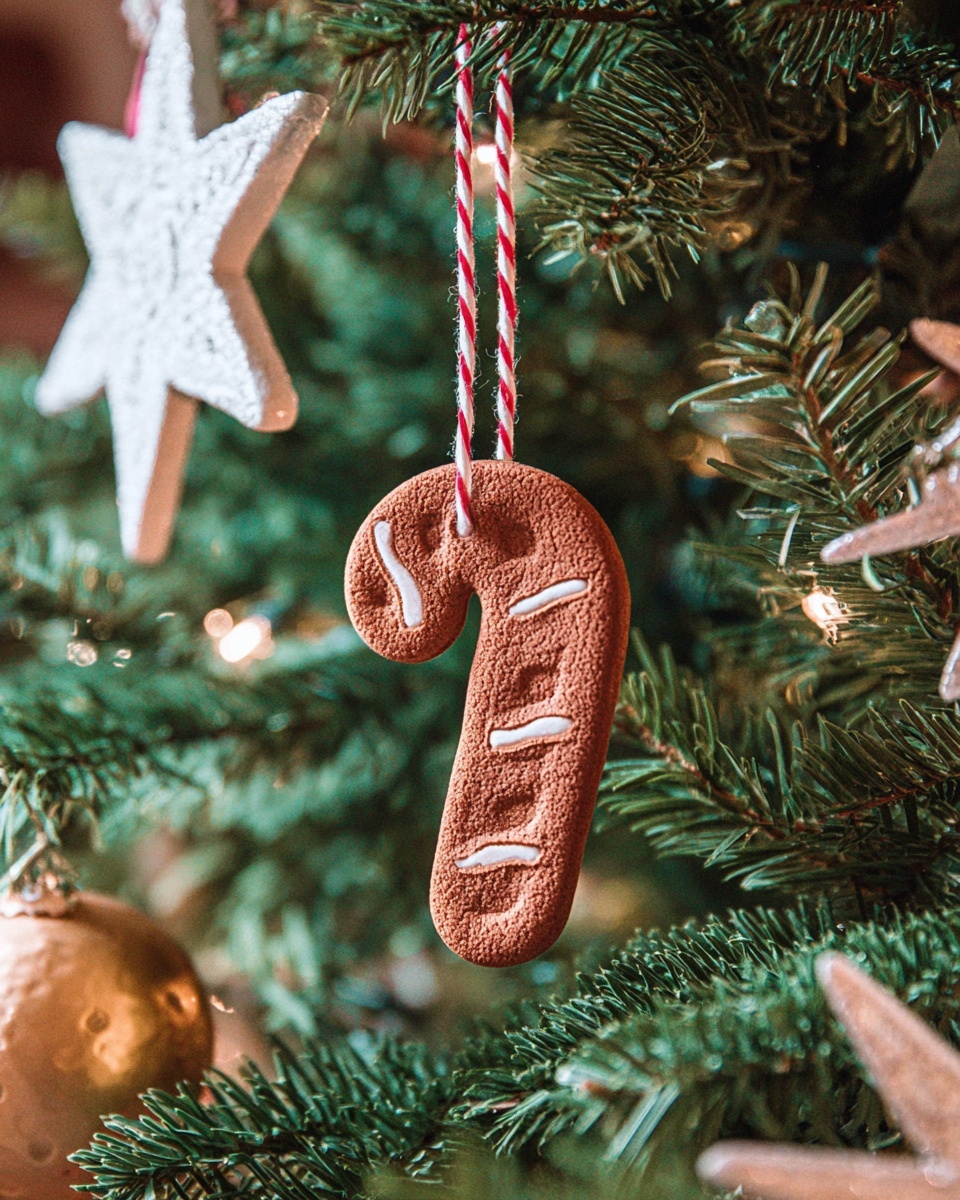
Cinnamon Ornaments: Homemade Holiday Craft Recipe
There’s something incredibly charming and cozy about making Cinnamon Ornaments: Homemade Holiday Craft Recipe during the holiday season. I remember the first time I tried this—my kitchen smelled like a warm, spicy winter wonderland within minutes! These cinnamon ornaments not only make delightful decorations but also double as heartfelt gifts that anyone would treasure. Plus, they’re super budget-friendly and simple, perfect if you want a crafty holiday activity that keeps the whole family involved.
If you’re like me, searching for unique ways to add a personal touch to your holiday décor, this Cinnamon Ornaments: Homemade Holiday Craft Recipe will feel right up your alley. The wonderful thing is you probably have most of the ingredients already, and the process is forgiving enough that you’ll succeed even if crafting isn’t usually your jam. I’ve found that making these ornaments works best when you have a few friends over, some holiday tunes playing, and a hot drink on hand to keep the spirit lively!
Ingredients You’ll Need
These ingredients come together beautifully to create a pliable dough that’s easy to work with, and the aromas will fill your home with that perfect holiday scent. When shopping, pick the freshest cinnamon you can find—pure ground cinnamon really makes all the difference here.
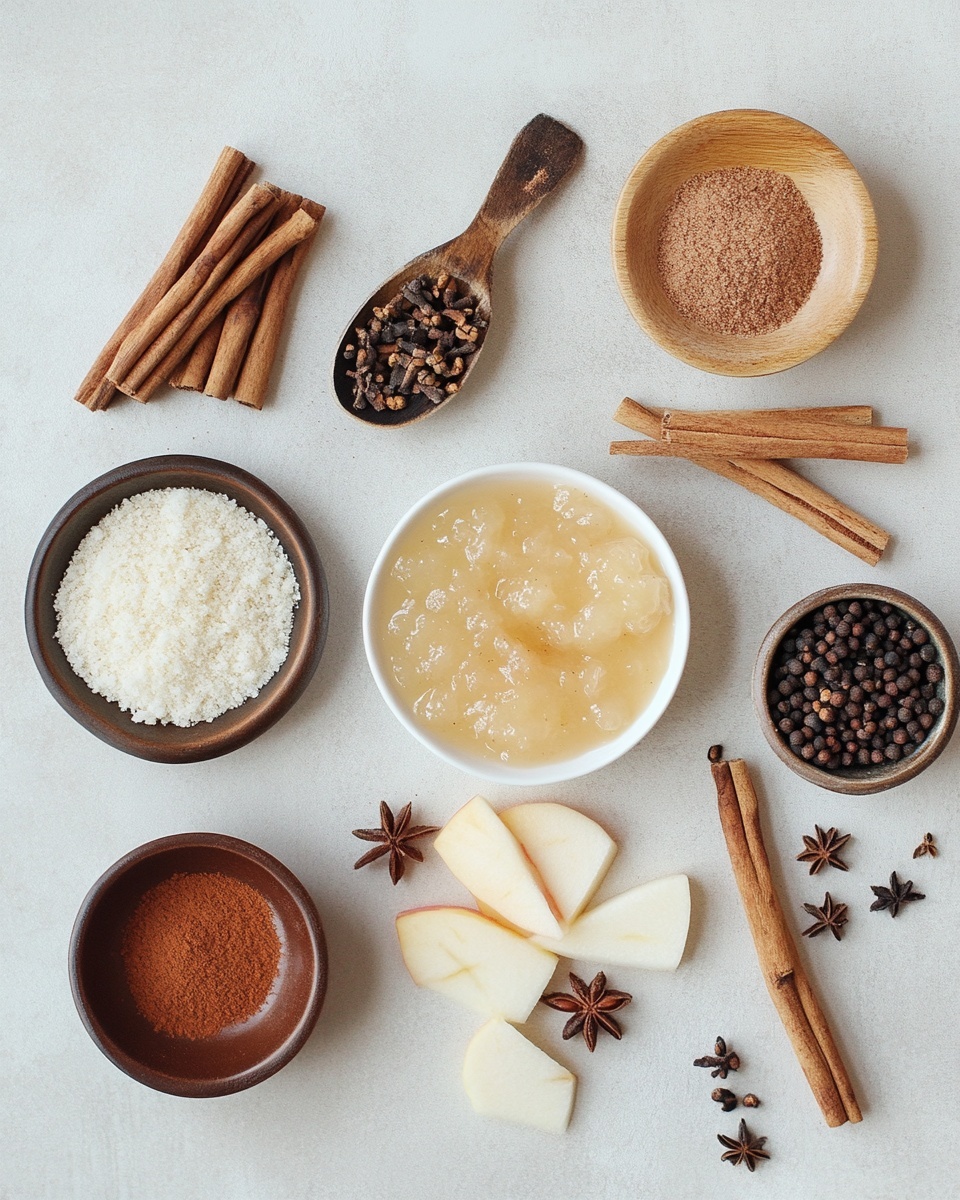
- Ground cinnamon: The star of the show—makes the ornaments smell divine and gives them that classic holiday vibe. Use good-quality cinnamon for best results.
- Ground allspice: Adds a subtle warmth and depth to the scent, balancing the cinnamon nicely. It’s a small touch, but trust me, it matters.
- Cinnamon applesauce: Acts as the binder and brings in a bit of natural sweetness and moisture, making the mixture easy to shape without sticky hands.
Variations
I’m all about mixing things up a bit, especially when it comes to crafts that let me add my own flair. You’ll find this recipe is quite flexible if you want to tweak the scents or textures to suit your tastes or materials on hand.
- Variation: Sometimes I swap the applesauce for plain mashed pumpkin or even a little honey to change the texture and scent profile. Pumpkin adds a lovely earthiness and makes these perfect for fall as well as winter.
- Variation: If you want a less spicy aroma, try swapping allspice for ground nutmeg or cloves, which give a softer fragrance.
- Variation: To make ornaments that last longer, some folks seal theirs with clear varnish or use a ribbon threaded through before baking. I prefer the natural look but love the option.
How to Make Cinnamon Ornaments: Homemade Holiday Craft Recipe
Step 1: Mix Your Spices and Wet Ingredients to Form Dough
Start by combining about two-thirds of a cup of ground cinnamon with two tablespoons of ground allspice in a mixing bowl. Slowly stir in half a cup of cinnamon applesauce until it forms a dough that holds together but isn’t too sticky. If it feels dry or crumbly, don’t hesitate to add one to two extra tablespoons of cinnamon or applesauce whichever helps you get the perfect consistency. The dough should feel like soft clay—easy to shape but firm enough to hold its form.
Step 2: Roll Out and Cut Your Ornaments
Lightly dust your work surface with cinnamon to prevent sticking, then roll your dough about 1/4 inch thick. Use cookie cutters or simply shape by hand to create your ornaments—stars, trees, hearts, whatever makes you smile. Pro tip: Before baking, poke a hole near the top of each ornament using a toothpick or straw for threading ribbon or twine later. This step saves you from trying to make holes after they’re hardened, which can be tricky and cause breakage.
Step 3: Let Your Ornaments Dry
You’ve got two options here—either air-dry the ornaments for 24 to 48 hours, turning them occasionally to keep the shape even, or bake them at a low temperature around 200°F (93°C) for 2 hours. Baking speeds things up, but keep an eye on them—overbaking can cause cracks or dark spots. Personally, I prefer slow air drying because it preserves the color and delicate cinnamon aroma better.
Step 4: Add Finishing Touches
Once dry and firm, thread your ribbons through the holes and tie them off. Some folks like to add a little glue and sprinkle cinnamon sugar or glitter on top for extra sparkle. I usually keep mine natural, but a little cinnamon stick tied on adds so much rustic charm. Hang these on your tree, gift packages, or even use them as festive garlands—you’ll love the cozy touch they bring.
How to Serve Cinnamon Ornaments: Homemade Holiday Craft Recipe
Garnishes
For me, simple is best—a swirl of natural twine or rustic ribbon complements the cinnamon tones perfectly. Sometimes I tie sprigs of fresh rosemary or tiny pinecones on the ribbon for an extra festive, natural garnish that smells amazing alongside the cinnamon.
Side Dishes
I like pairing the cinnamon ornaments with a mug of hot spiced cider or warm mulled wine when gifting or displaying them. They set the mood beautifully and feel like a gift in themselves when friends drop by for the holidays.
Creative Ways to Present
One of my favorite tricks is to arrange a bunch of these ornaments in a glass jar layered with cinnamon sticks and cranberries. It doubles as a beautiful centerpiece and conversation starter! Gift-wrapping them in cellophane tied with a festive ribbon also makes for an effortless but impressive present.
Make Ahead and Storage
Storing Leftovers
Because these are handmade crafts, if you find yourself with extras, store them in an airtight container away from moisture to keep their shape and scent. I’ve kept mine looking fresh for months this way, just avoid humid spots like near a dishwasher or stove.
Freezing
I don’t recommend freezing cinnamon ornaments as it can affect the texture and make them brittle once thawed. However, if you do want to prepare dough ahead of time, you can store unshaped dough wrapped tightly in the freezer for a week or two.
Reheating
Since these are decorative and not edible, reheating isn’t really necessary. If you want to refresh the scent, placing them in a warm spot like near a radiator can help amplify the aroma without risking damage.
FAQs
-
Can I eat the Cinnamon Ornaments: Homemade Holiday Craft Recipe?
Technically, the ingredients are food safe, but because these ornaments dry out completely and may have been handled with non-food-safe surfaces or materials, they are intended for decoration only. I recommend enjoying their scent rather than snacking on them!
-
How long do the cinnamon ornaments last?
If kept dry and stored properly away from moisture, these ornaments can last for several years. Their scent might fade slightly over time, but you can refresh it by gently warming them in a warm room.
-
Can I customize the shapes of the cinnamon ornaments?
Absolutely! Using cookie cutters or freehand shapes is part of the fun. I love making stars, hearts, and little trees, but you can get as creative as you want. Just make sure the pieces aren’t too thin to prevent cracking during drying.
-
What if my dough is too sticky?
If your dough feels too sticky to handle, sprinkle in a bit more ground cinnamon or allspice little by little until it reaches the right consistency. The dough should be easy to roll and cut without sticking to your hands excessively.
Final Thoughts
I love that this Cinnamon Ornaments: Homemade Holiday Craft Recipe brings a sense of nostalgia and handcrafted beauty to my holiday celebrations year after year. It’s one of those simple yet satisfying traditions that feels like a warm hug in ornament form. Whether you’re crafting solo or with friends and family, I promise you’ll enjoy every minute of it and feel proud hanging your homemade creations on your tree. Give it a try—you might just start a new holiday tradition you treasure as much as I do!
Print
Cinnamon Ornaments: Homemade Holiday Craft Recipe
- Prep Time: 15 minutes
- Cook Time: 0 minutes
- Total Time: 1-2 days (including air drying time)
- Yield: 12–15 medium-sized ornaments 1x
- Category: Craft
- Method: No-Cook
- Cuisine: American
Description
Create charming Cinnamon Ornaments with this simple homemade recipe, perfect for holiday crafting. Using ground cinnamon, allspice, and cinnamon applesauce, these ornaments are easy to shape, air dry quickly, and fill your home with a warm, spicy aroma. Ideal for decorating your tree or gifting as fragrant keepsakes.
Ingredients
Dry Ingredients
- ⅔ cup ground cinnamon, divided (plus 1–2 additional tablespoons, optional)
- 2 tbsp ground allspice
Wet Ingredients
- ½ cup cinnamon applesauce
Instructions
- Mix Spices and Applesauce: In a large mixing bowl, combine ⅔ cup ground cinnamon and 2 tablespoons ground allspice. Gradually add ½ cup cinnamon applesauce, stirring until a thick, dough-like consistency forms. If the dough is too sticky, add an additional 1-2 tablespoons of cinnamon to balance moisture and improve handling.
- Knead the Dough: Transfer the dough onto a flat surface lightly dusted with cinnamon. Knead the dough gently until smooth and pliable, ensuring all ingredients are thoroughly incorporated and the mixture is easy to roll out.
- Roll Out the Dough: Using a rolling pin, roll the dough to about ¼-inch thickness. If the dough begins to stick, sprinkle with extra cinnamon as needed to prevent sticking to the rolling pin or surface.
- Cut Ornament Shapes: Use cookie cutters of desired holiday shapes (such as stars, hearts, or snowflakes) to cut the dough. Press firmly and carefully lift each shape, placing them onto a parchment-lined tray.
- Create Holes for Hanging: Using a straw or skewer, poke a small hole near the top of each ornament for threading ribbon or string once dried.
- Air Dry the Ornaments: Place the cut shapes on a flat surface at room temperature. Allow ornaments to air dry for 24 to 48 hours, turning them over occasionally to dry evenly. Avoid direct sunlight or humid areas to ensure proper drying and prevent cracking.
- Decorate (Optional): Once dry, optionally decorate with paint, glitter, or markers. Thread ribbons through the holes for hanging on your holiday tree or gift wrapping.
Notes
- The dough should be firm but pliable; add extra cinnamon if too sticky or extra applesauce if too dry.
- Ensure holes for hanging are made before drying to avoid breakage.
- Drying time can vary depending on humidity—allow more time in humid environments.
- Store finished ornaments in a cool, dry place to retain shape and fragrance.
- These ornaments are not edible and meant for decorative purposes only.
Keywords: cinnamon ornaments, homemade holiday craft, cinnamon applesauce ornaments, holiday decorations, DIY holiday crafts