Creamy Butter Mints with Peppermint and Food Coloring Recipe
If you love those melt-in-your-mouth mints that are creamy, smooth, and bursting with peppermint flavor, then this Creamy Butter Mints with Peppermint and Food Coloring Recipe is exactly what you need. I’ve been making these little delights around the holidays, but honestly, they’re a perfect anytime treat—especially when you want to impress guests or gift a batch to friends. The best part? They’re incredibly simple to make and you can get creative with the colors to match any occasion.
One of the reasons I keep coming back to this Creamy Butter Mints with Peppermint and Food Coloring Recipe is how versatile it is. Whether you like your mints pale and delicate or bold and bright, a little food coloring goes a long way. Plus, the buttery richness combined with just the right hint of peppermint delivers that classic, nostalgic taste. You’ll be amazed at how professional these look—and how quickly they disappear once folks start nibbling!
Ingredients You’ll Need
All the ingredients here work beautifully together to create a creamy, perfectly textured mint that’s sweet but not overpowering. I always recommend using good-quality unsalted butter and pure peppermint extract for the best flavor.
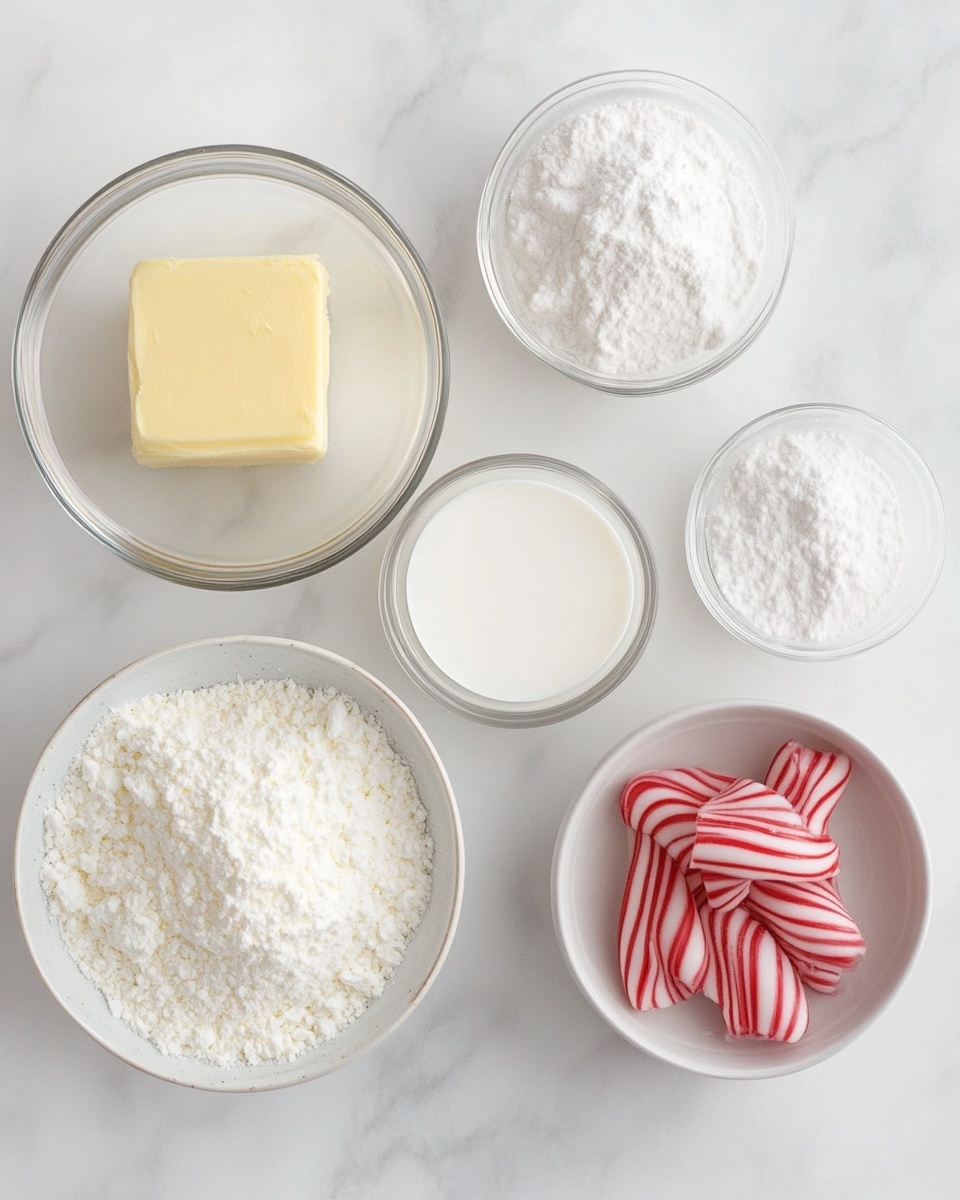
- Unsalted Butter: Use softened, not melted, so it blends smoothly with the sugar for that creamy texture.
- Whipping Cream: Just a tablespoon to add the perfect moisture and richness without making the mixture runny.
- Powdered Sugar: It’s the sweet base that also helps the mints hold their shape. I prefer sifting it to avoid lumps.
- Pure Peppermint Extract: This is where the magic happens—fresh and clean peppermint flavors are key, so steer clear of imitation extracts.
- Food Coloring: Just a few drops can transform these mints from simple white to festive and fun. I usually stick to green or red for Christmas, but don’t be afraid to experiment.
Variations
I love how adaptable this Creamy Butter Mints with Peppermint and Food Coloring Recipe is. Sometimes I play with the color palette for different holidays or swap the peppermint extract for other flavors to mix things up.
- Chocolate Peppermint Mints: Adding a teaspoon of cocoa powder gives a fun chocolate twist. I tried this last Valentine’s Day and got rave reviews!
- Almond Peppermint Butter Mints: Swap peppermint for almond extract for a subtly nutty flavor—I recommend this for tea parties or bridal showers.
- Vegan Version: Use vegan butter and coconut cream to keep the creamy texture but make it plant-based. I’ve done this for friends who avoid dairy, and they loved the result.
- Bright Colors or Natural Tones: Instead of artificial food coloring, you can try natural options like beet juice for pink or matcha for a soft green if you want an all-natural approach.
How to Make Creamy Butter Mints with Peppermint and Food Coloring Recipe
Step 1: Soften the Butter
Start by leaving your unsalted butter out at room temperature until it’s soft but not melting. This usually takes about 30 minutes. Softer butter mixes easier with the sugar, giving you that dreamy, creamy texture we’re aiming for. If you’re in a rush, cut it into small chunks to speed up the softening process.
Step 2: Beat Butter and Whipping Cream
In a large mixing bowl, beat the softened butter with the whipping cream until smooth and slightly fluffy. This step ensures your mints will have that luscious, melt-in-your-mouth feel. I usually use a hand mixer, but a sturdy wooden spoon works fine if you don’t have one.
Step 3: Add Powdered Sugar Gradually
Slowly add the powdered sugar—start with about 3 cups—and mix well after each addition. The mixture will start to thicken and become dough-like. Once you reach a consistency where the dough pulls away from the bowl but isn’t too dry, stop. If it’s a bit sticky, sprinkle in a little more powdered sugar. Remember to sift your sugar first to avoid lumps!
Step 4: Stir in Peppermint Extract and Food Coloring
Add the peppermint extract—about half a teaspoon is perfect for that bright flavor—and mix well. Then drop in your food coloring a little at a time until you get the shade you want. I find just 1 to 4 drops do the trick. This part is fun because you can make your mints coordinating with any event or holiday.
Step 5: Form and Dust the Mints
Once the dough is ready, dust your hands and workspace with powdered sugar and roll the dough into small balls—about the size of a marble. Then flatten them lightly with your fingers. Placing them on a tray lined with parchment paper, let them air dry for a few hours or overnight to firm up. This drying step helps them hold their shape without being sticky.
How to Serve Creamy Butter Mints with Peppermint and Food Coloring Recipe
Garnishes
I usually keep these butter mints unadorned since their creamy texture and color are enough, but sometimes I sprinkle a tiny bit of crushed peppermint candy or edible glitter for festive flair. It adds a nice crunch and a little sparkle—perfect for parties or gift boxes.
Side Dishes
These mints make an excellent sweet bite alongside hot tea or coffee. I’ve also paired them with holiday cookie platters for an extra peppermint kick, or even served them with dessert plates after dinner to refresh the palate.
Creative Ways to Present
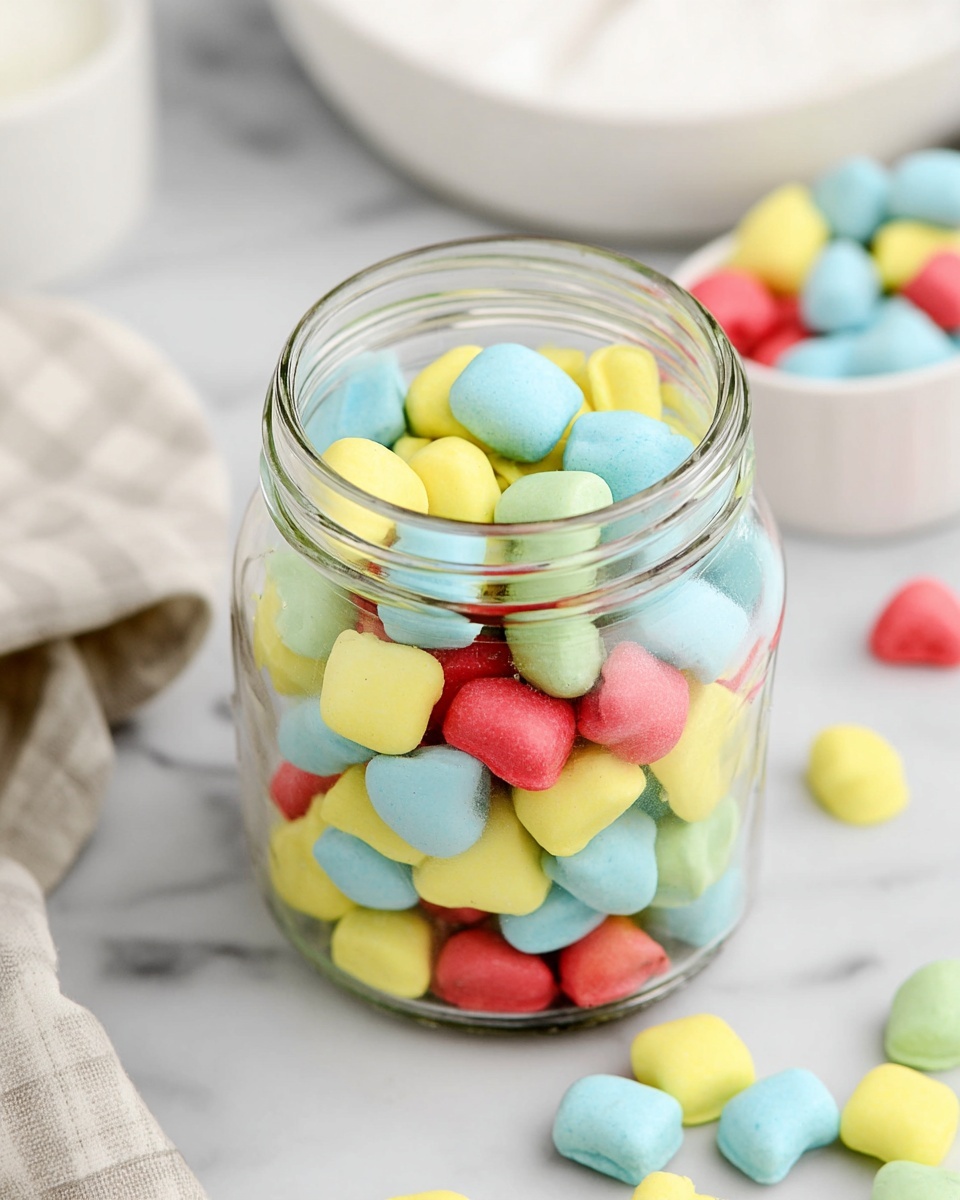
One of my favorite presentations is placing these colorful mints in clear glass jars tied with festive ribbons. They make beautiful homemade gifts. For a party, I arrange them in decorative bowls or stack them on tiered trays—adding some pine sprigs or mini ornaments for a seasonal touch really elevates their charm.
Make Ahead and Storage
Storing Leftovers
I store leftover butter mints in an airtight container at room temperature. They keep great for up to two weeks, but honestly, they rarely last that long in my house! Just keep them away from heat and humidity to avoid melting or stickiness.
Freezing
Freezing these mints is totally doable if you want to prep ahead. I wrap them individually in parchment paper and place them in a freezer-safe bag or container. When I thaw them, I let them come to room temperature to soften slightly before serving—and they taste just as fresh.
Reheating
Since these are cold-set mints, no actual reheating is needed. If frozen, just let them sit out to return to room temp. If you want them creamier, a few minutes on your countertop will do the trick. Avoid direct heat since butter can melt and change texture.
FAQs
-
Can I use flavored extracts other than peppermint in this recipe?
Absolutely! While peppermint is classic, you can experiment with vanilla, almond, or even citrus extracts to give your butter mints a unique twist. Just be mindful of the potency—start with less and adjust to your taste.
-
Why do my butter mints turn out dry or crumbly?
The key is the balance between butter, cream, and powdered sugar. Make sure your butter is softened and not melted, and add cream gradually. If your mixture feels dry, adding a little more cream helps. Also, avoid overmixing, which can stiffen the dough.
-
How long do homemade butter mints last?
Stored in an airtight container at room temperature, butter mints typically keep well for about two weeks. Keep them cool and dry, and they’ll stay fresh and creamy during that time.
-
Can I skip the food coloring?
Yes! The mints will be a lovely creamy white without food coloring. The color is purely for fun and presentation, so feel free to omit it if you prefer a natural look.
-
What’s the easiest way to shape the mints?
Rolling the dough into small balls and then flattening them with your fingertips is simple and effective. Dust your hands with powdered sugar to prevent sticking, and if you want, use a small cookie scoop for uniform sizes.
Final Thoughts
Honestly, this Creamy Butter Mints with Peppermint and Food Coloring Recipe holds a special place in my kitchen—it’s one of those easy recipes that never disappoints and always brings smiles. I love how you can tailor it with flavors and colors to suit any celebration or just to satisfy a peppermint craving. Give it a try—you’ll be surprised how a few simple ingredients combined with a little care can result in such a delightful treat. And trust me, once you start making these, you’ll find plenty of reasons to share them, or maybe just keep a secret stash for yourself!
Print
Creamy Butter Mints with Peppermint and Food Coloring Recipe
- Prep Time: 10 minutes
- Cook Time: 0 minutes
- Total Time: 40 minutes
- Yield: About 48 mints 1x
- Category: Candy
- Method: No-Cook
- Cuisine: American
- Diet: Vegetarian
Description
Deliciously smooth and melt-in-your-mouth Butter Mints with a refreshing peppermint flavor, perfect for holidays, weddings, or any special occasion. These classic candies combine creamy butter, whipped cream, and powdered sugar, then lightly tinted with food coloring for a festive touch.
Ingredients
Butter Mints Ingredients
- 1 stick unsalted butter (113g)
- 1 tablespoon whipping cream
- 4 cups powdered sugar, divided (about 480g)
- ½ teaspoon pure peppermint extract
- 1–4 drops food coloring (optional, for desired brightness)
- Additional powdered sugar for dusting
Instructions
- Soften the Butter: Allow the unsalted butter to come to room temperature so it is soft enough to mix smoothly without melting.
- Combine Butter and Cream: In a large mixing bowl, beat the softened butter together with the whipping cream until the mixture is creamy and light.
- Add Peppermint Extract: Stir in ½ teaspoon of pure peppermint extract to infuse the mixture with a fresh minty flavor.
- Add Powdered Sugar Gradually: Add 3 ½ cups of powdered sugar to the butter mixture, mixing continuously until fully combined and a thick dough forms.
- Add Food Coloring: If desired, add 1 to 4 drops of food coloring to tint the mints, mixing thoroughly to evenly distribute the color.
- Knead with Remaining Sugar: Turn the dough out onto a surface dusted with the remaining ½ cup powdered sugar and knead gently until smooth and pliable.
- Shape the Mints: Pinch off small pieces of dough and roll them into balls or shape them into small discs, as preferred.
- Dust and Set: Lightly dust the shaped mints with powdered sugar to prevent sticking and place them on a tray lined with parchment paper.
- Chill: Refrigerate the mints for at least 30 minutes to firm up before serving or packaging.
Notes
- Ensure butter is soft but not melted for the best texture.
- You can store butter mints in an airtight container at room temperature for up to 1 week or freeze for longer storage.
- Adjust peppermint extract to taste for a stronger or milder mint flavor.
- Use gloves to color dough if avoiding staining your hands with food coloring.
- Dust the work surface and hands with powdered sugar to prevent sticking during shaping.
Keywords: butter mints, peppermint candies, holiday candy, no-cook candy, homemade mints