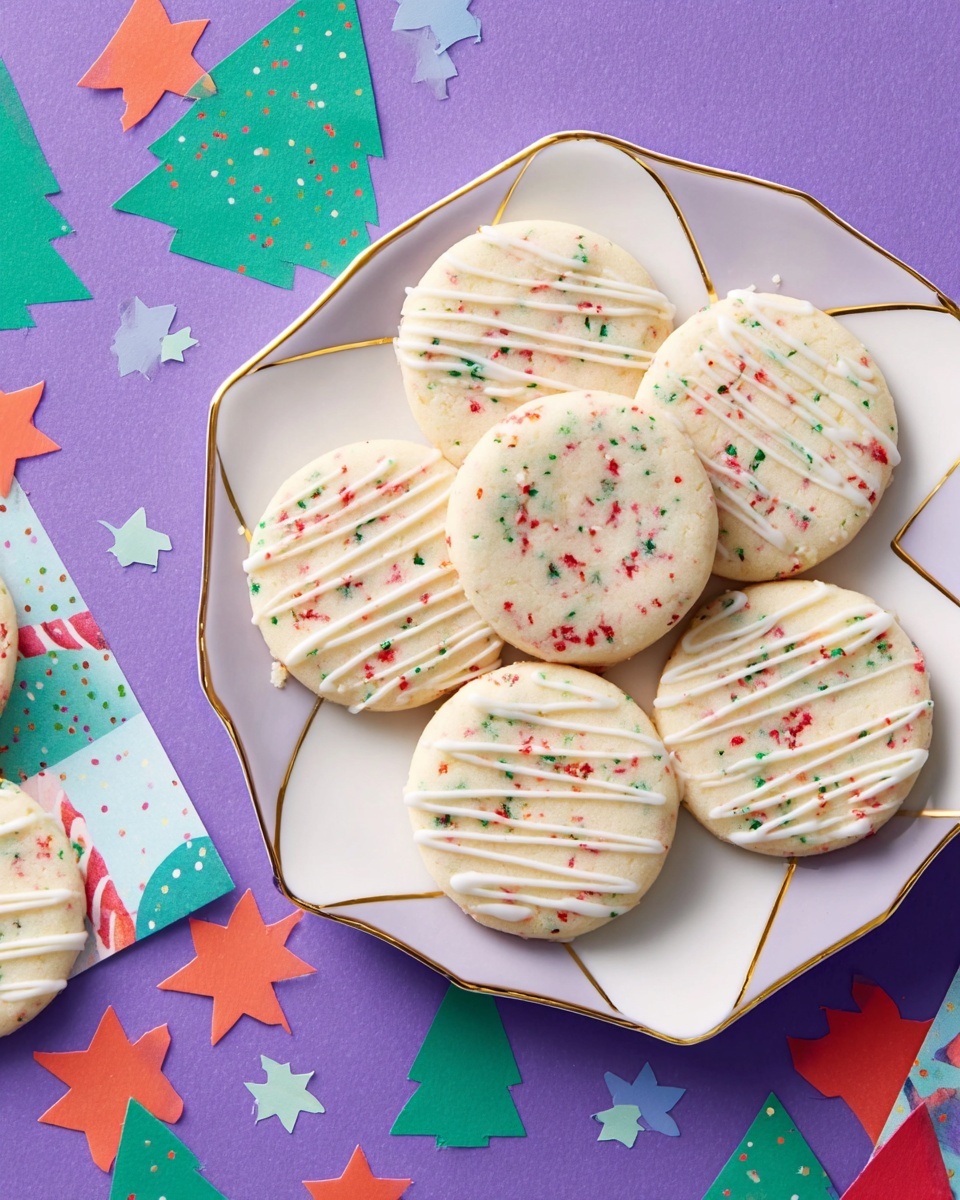
Festive Christmas Icebox Cookies Recipe
There’s something truly magical about festive Christmas icebox cookies, isn’t there? I’ve always found them to be the perfect holiday treat—easy to whip up, colorful, and just the right balance of buttery sweetness and festive flair. What makes this Festive Christmas Icebox Cookies Recipe so special is how it lets you prepare ahead of time; literally, you can slice and bake the dough over several days, making holiday baking less stressful and way more fun.
These cookies are a staple for any Christmas get-together, whether you’re hosting a cozy family gathering or bringing a batch to the office party. The mix of red, green, and white sprinkles gives them that unmistakable festive pop—plus, they’re just plain delightful to eat, with a tender crumb that’s easy to personalize to your taste. I’m excited to share some tips and tricks so you can nail this recipe on your first go, and maybe even make it your own!
Ingredients You’ll Need
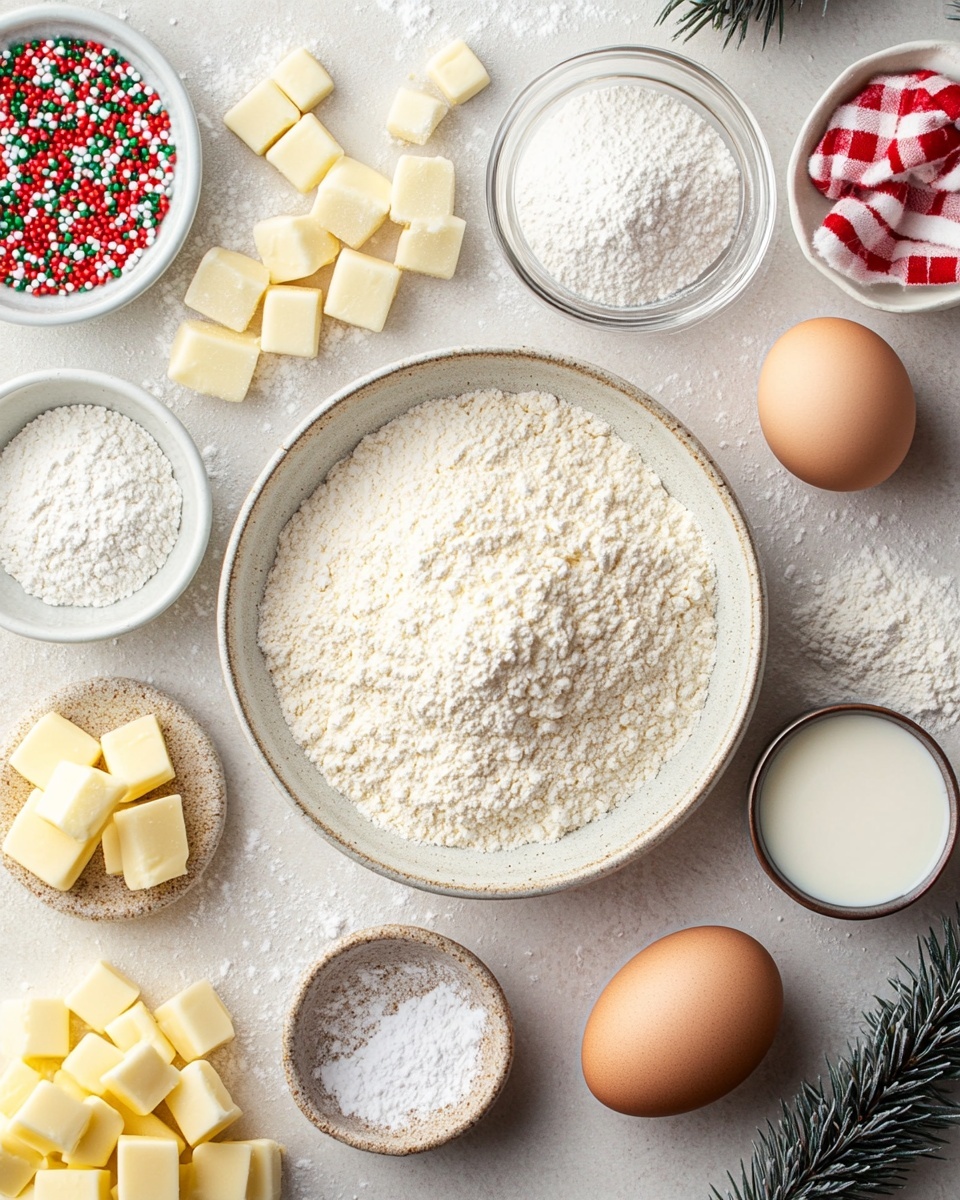
The key to these Festive Christmas Icebox Cookies Recipe ingredients working so well together lies in the balance between the dry and wet components, creating a dough that’s easy to shape but still flavorful. Picking good quality butter and fresh vanilla really ups your cookie game.
- All-purpose flour: This forms the base and gives the cookies structure—make sure to measure it properly for the right crumb.
- Baking powder: Just a small pinch to lighten the dough slightly without making it cakey.
- Salt: Enhances the sweetness and balances flavors, don’t skip this one!
- Christmas sprinkles (red, green, and white): Adds that festive look and a little fun crunch—you can even customize colors if you want!
- Unsalted butter (room temperature): I always use unsalted so I can control the salt balance myself; make sure it’s soft for easy mixing.
- Granulated sugar: Sweetens the dough and helps with cookie texture.
- Egg: Binds the dough together and adds richness.
- Vanilla extract: Gives warmth and depth; fresh extract makes a noticeable difference.
- Powdered sugar: For the glaze — smooth and sweet for a finishing touch.
- Milk: Helps thin out the glaze to just the right drizzle consistency.
Variations
I love making this Festive Christmas Icebox Cookies Recipe my own by swapping out sprinkles or adding flavors—you really can’t go wrong playing around! Don’t be afraid to experiment, especially if you have family favorites that you want to mix in.
- Gluten-free option: I’ve tried swapping in a 1:1 gluten-free baking flour blend, and it works well with a slightly softer texture.
- Chocolate chips: Adding mini chocolate chips is my secret for cookie lovers in the family who want something extra.
- Citrus zest: A little orange or lemon zest brightens the flavor, especially when paired with vanilla.
- Spiced version: Sprinkle a touch of cinnamon or nutmeg into the dough for a cozy twist.
How to Make Festive Christmas Icebox Cookies Recipe
Step 1: Cream Butter and Sugar Until Fluffy
Start by beating your softened unsalted butter with the granulated sugar until the mixture is light and fluffy—this usually takes about 3 to 4 minutes with a stand mixer or hand mixer. The fluffiness here is key to achieving that melt-in-your-mouth texture you want from these festive treats. If your butter isn’t soft enough, the dough might turn out dense, so be patient!
Step 2: Add Egg and Vanilla
Next, mix in the egg and vanilla extract until fully combined. This step ensures your dough has the right moisture and that classic rich flavor. I recommend cracking the egg into a small bowl first to avoid any shell surprises.
Step 3: Mix Dry Ingredients Separately
Whisk together your all-purpose flour, baking powder, and salt in a separate bowl. This helps to evenly distribute the leavening and salt so your cookies bake uniformly without flat spots.
Step 4: Combine Dry and Wet Ingredients
Gradually add the dry ingredient mixture to your wet ingredients, mixing on low speed just until combined. Overmixing here can develop gluten and make your cookies tough, which is the last thing you want.
Step 5: Stir in the Sprinkles
Fold in your festive red, green, and white Christmas sprinkles gently by hand. This keeps those colorful bits intact and evenly spread so each cookie feels special. It’s one of my favorite moments because the dough looks so joyful right here!
Step 6: Shape and Chill the Dough
Divide the dough into logs about 2 inches in diameter, then wrap tightly in plastic wrap. Pop these logs into the fridge for at least 2 hours, though overnight is best if you can wait. Chilling firms up the dough, making it easier to slice thin cookies that keep their shape when baked.
Step 7: Slice and Bake
Preheat your oven to 350°F (175°C). Once chilled, slice the dough logs into ¼-inch thick rounds using a sharp knife. Place cookies on a parchment-lined baking sheet, leaving space between them as they’ll spread a little. Bake for 10-12 minutes or until edges are just turning golden—watch closely, these go fast!
Step 8: Prepare the Glaze and Finish
While cookies cool on a wire rack, whisk together powdered sugar and milk to make a smooth glaze. Drizzle over the cooled cookies using a spoon or piping bag. The glaze adds a lovely sweet finish and helps keep things festive-looking. Plus, it’s a chance to get creative with designs!
How to Serve Festive Christmas Icebox Cookies Recipe
Garnishes
I like to finish these cookies with extra sprinkles or even a tiny dusting of edible glitter for that extra holiday sparkle. You can also try crushed candy canes on top of the glaze for a peppermint twist that’s both pretty and delicious.
Side Dishes
These cookies pair wonderfully with a hot cup of cocoa or spiced holiday tea, which add warmth and balance to the sweet crunch. I often serve them alongside a cheese platter or mixed nuts to add savory contrast for parties.
Creative Ways to Present
For gift-giving or parties, I’ve wrapped batches of these cookies in clear cellophane tied with festive ribbons, or stacked them in cute holiday tins layered with parchment. It’s an easy way to make your baking feel extra special and thoughtful.
Make Ahead and Storage
Storing Leftovers
Leftover cookies keep beautifully in an airtight container at room temperature for up to a week. I recommend layering them between sheets of parchment paper to prevent sticking and preserve their shape and texture.
Freezing
You can freeze the unbaked cookie logs wrapped tightly in plastic wrap and foil for up to 3 months. When you’re ready, just slice and bake straight from frozen—add a couple extra minutes to baking time, and you’re good!
Reheating
If you want to freshen up leftovers, pop a few cookies in the oven at 300°F for 5 minutes to regain that fresh-baked warmth without drying them out. Avoid microwaving as it can make them soft and chewy instead of crisp.
FAQs
-
Can I use different colored sprinkles in this Festive Christmas Icebox Cookies Recipe?
Absolutely! Feel free to swap out the traditional red, green, and white sprinkles for any colors or shapes you like. The sprinkles are mainly for fun and presentation, so customize them to fit your holiday style or party theme.
-
How long should I chill the dough for these cookies?
The dough should chill for at least 2 hours to firm up properly, but overnight chilling is ideal. This makes slicing easier and helps maintain the cookie shape during baking, resulting in perfectly crisp edges and a tender center.
-
Can I make these cookies without the glaze?
Yes, you can skip the powdered sugar glaze if you prefer a more classic, buttery cookie. They’re delicious plain, but the glaze adds a sweet balance and helps bring out the festive vibe, especially combined with the sprinkles.
-
How do I prevent my icebox cookies from spreading too much?
Make sure the dough is well chilled before slicing and baking, and slice the logs evenly thin. Using room temperature butter for creaming is important, but if it’s too soft or melted, cookies tend to spread more. Also, don’t overcrowd your baking sheet so heat circulates properly.
-
Can I prepare the cookie dough logs ahead of time and freeze them?
Definitely! Freezing the cookie logs before slicing is a great time-saver. Just wrap them well, freeze up to 3 months, and bake slices straight from the freezer, adding a few extra minutes to your baking time.
Final Thoughts
This Festive Christmas Icebox Cookies Recipe has been one of my favorite holiday go-tos for years because it combines ease with that unmistakable holiday cheer in every bite. I love how you can make the dough ahead—giving you that extra time to enjoy the season without being stuck in the kitchen all day. Give it a try and watch how quickly these cookies become a cherished part of your family traditions, just like they have in mine.
Print
Festive Christmas Icebox Cookies Recipe
- Prep Time: 15 minutes
- Cook Time: 12 minutes
- Total Time: 2 hours 27 minutes
- Yield: Approximately 36 cookies 1x
- Category: Dessert
- Method: Baking
- Cuisine: American
Description
These Easy Christmas Icebox Cookies are festive, buttery, and tender cookies perfectly adorned with colorful red, green, and white sprinkles. They are simple to prepare, require minimal baking skills, and make a delightful holiday treat that is both visually appealing and delicious.
Ingredients
Dry Ingredients
- 2 ½ cups all-purpose flour
- ½ teaspoon baking powder
- ½ teaspoon salt
- ½ cup red, green, and white Christmas sprinkles
Wet Ingredients
- 1 cup unsalted butter, room temperature
- ¾ cup granulated sugar
- 1 egg
- 1 teaspoon vanilla extract
- ½ cup powdered sugar
- 1 tablespoon milk
Instructions
- Prepare the Dough: In a medium bowl, whisk together the all-purpose flour, baking powder, and salt. In a large bowl, using a hand mixer or stand mixer, cream the unsalted butter and granulated sugar until light and fluffy, about 3-4 minutes. Beat in the egg and vanilla extract until combined.
- Combine Ingredients: Gradually add the flour mixture to the butter mixture, mixing on low speed until just combined. Gently fold in the red, green, and white Christmas sprinkles by hand to evenly distribute them throughout the dough.
- Shape the Dough: Turn the dough out onto a sheet of plastic wrap. Form the dough into a log about 2 inches in diameter. Wrap tightly and refrigerate for at least 2 hours, or until firm enough to slice.
- Slice and Bake: Preheat your oven to 350°F (175°C). Line baking sheets with parchment paper. Remove the dough from the refrigerator and slice into ¼-inch thick rounds. Place the cookie slices about 1 inch apart on the prepared baking sheets.
- Bake the Cookies: Bake in the preheated oven for 10-12 minutes, or until the edges begin to turn golden. Do not overbake to ensure the cookies remain tender.
- Prepare the Icing: While the cookies bake, mix the powdered sugar and milk in a small bowl to create a smooth glaze. Adjust consistency with additional milk or powdered sugar as necessary.
- Cool and Decorate: Allow the cookies to cool on the baking sheet for 5 minutes, then transfer to a wire rack to cool completely. Once cooled, drizzle the powdered sugar glaze over the cookies for added sweetness and festiveness.
Notes
- For best results, chill the dough well before slicing to prevent the cookies from spreading out too much.
- The powdered sugar glaze adds a nice sweetness but can be omitted or replaced with your favorite frosting.
- Store cookies in an airtight container at room temperature for up to 5 days to maintain freshness.
- You can customize sprinkles or mix-ins to suit your holiday theme.
Keywords: Christmas cookies, icebox cookies, holiday baking, festive cookies, easy cookie recipe