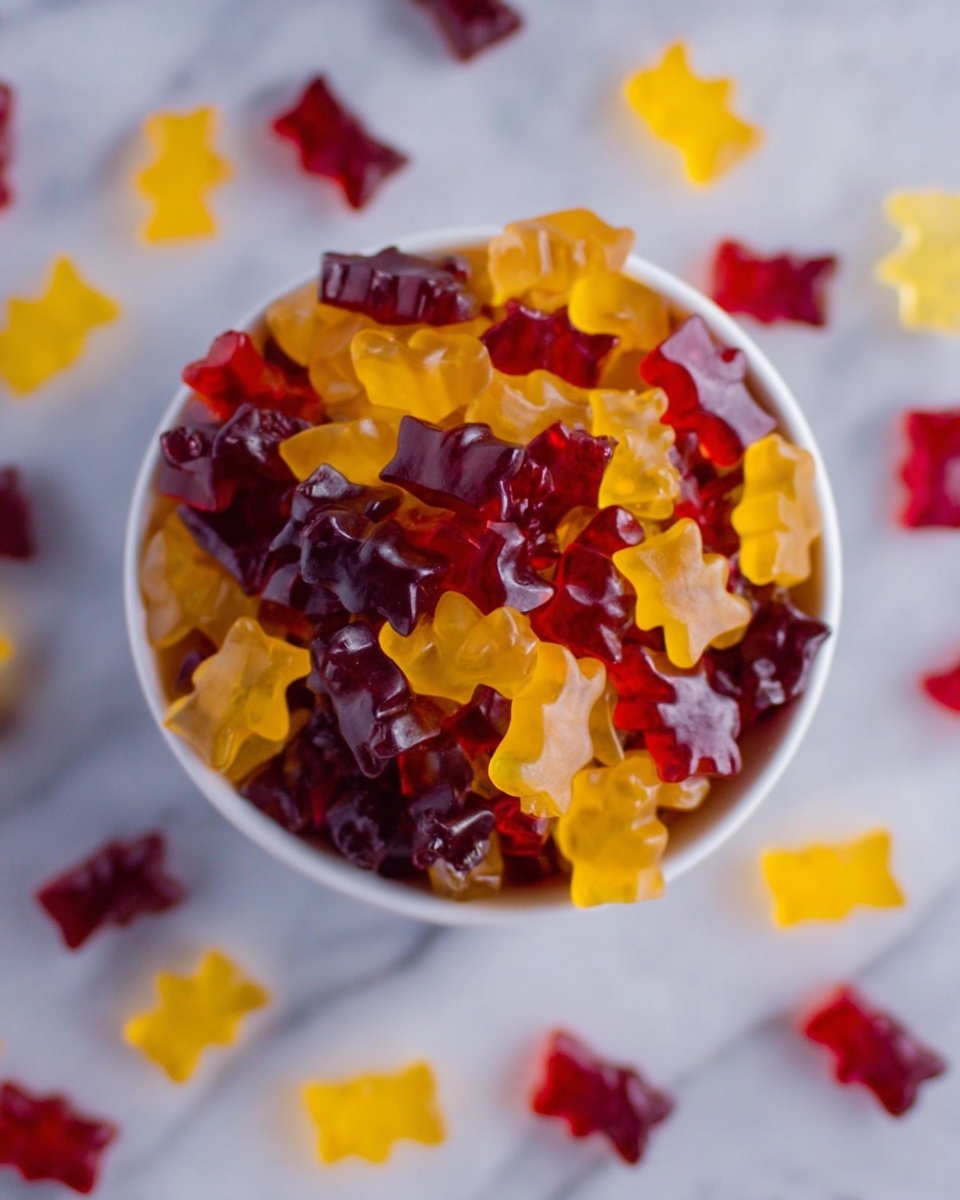
Healthy Homemade Gummies Recipe
I’m so excited to share this Healthy Homemade Gummies Recipe with you because it’s one of those sweet treats that feels indulgent but is actually good for you. Whenever I want a snack that’s naturally fruity and gentle on my sugar intake, making these gummies is my go-to. They’re simple, homemade, and I love how you can customize them to fit your favorite flavors or dietary needs.
These gummies are perfect for an afternoon pick-me-up or a kid-friendly snack that you can feel good about handing over. Plus, making them from scratch means you know exactly what’s inside—no weird preservatives or artificial colors. Once you try this Healthy Homemade Gummies Recipe, I bet you’ll find yourself making them again and again.
Ingredients You’ll Need
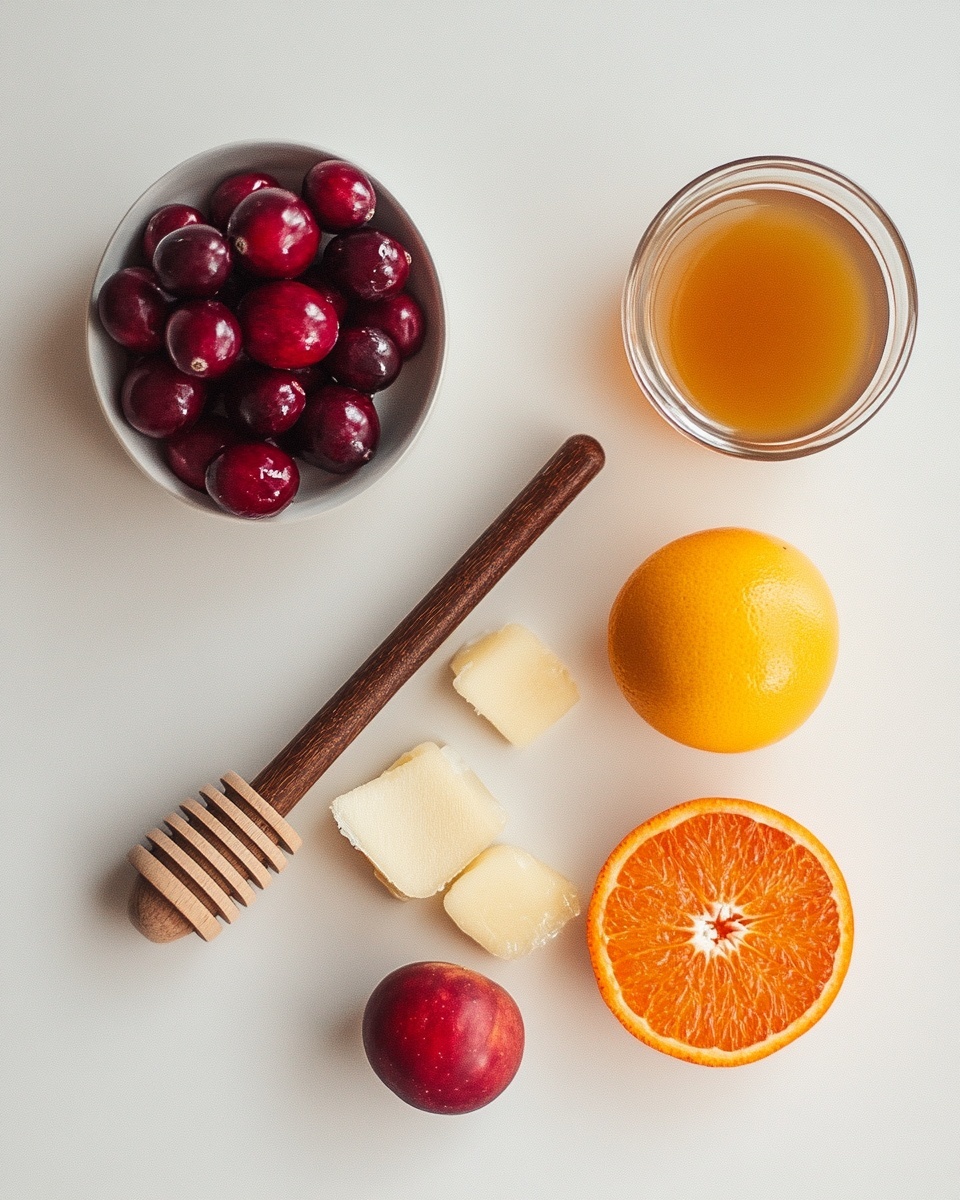
Each ingredient in this recipe plays a special role to keep things healthy yet delicious. I always recommend using a quality fruit juice with no added sugar for the best flavor and natural sweetness.
- Fruit Juice: Choose your favorite 100% fruit juice—apple, orange, cranberry, or grape all work wonderfully. Freshly squeezed is great too if you’re feeling fancy.
- Honey: Acts as a natural sweetener and adds that lovely sticky texture we want in gummies.
- Stevia or Granulated Sugar (Optional): I often skip this, but if you want a bit more sweetness, a little stevia or sugar works well.
- Unflavored Gelatin: This is the magic ingredient that gives your gummies their bounce and chew. Make sure it’s fresh for best results.
Variations
I love mixing things up depending on what juice I have on hand or what mood I’m in. You should definitely play around with this recipe—it’s all about making it your own.
- Herbal Twist: Adding a splash of chamomile or hibiscus tea to the juice gives a nice unique flavor. I tried this once, and it made a beautiful color too!
- Vegan Version: Swap gelatin for agar-agar powder, just be mindful it sets differently – firmer but still tasty.
- Extra Boost: For a vitamin kick, stir in a bit of powdered vitamin C or collagen peptides before setting.
How to Make Healthy Homemade Gummies Recipe
Step 1: Warm the Juice and Sweetener
Start by gently warming your fruit juice in a small saucepan over low heat — you don’t want it boiling, just warm enough so the honey dissolves easily. Stir in your honey and stevia or sugar if using. This helps everything blend smoothly later on. I find heating slowly prevents any bitter flavor from forming.
Step 2: Bloom the Gelatin
Sprinkle your unflavored gelatin over a couple of tablespoons of cold juice or water and let it sit for about 5 minutes to “bloom.” This is key for a smooth texture. If you skip this, you might end up with clumps, and nobody wants gummy lumps!
Step 3: Combine and Melt
Once the gelatin has bloomed, add it to your warm juice mixture. Stir gently until the gelatin completely dissolves—this usually takes a few minutes. Avoid boiling here to preserve the delicate flavors and gelatin’s setting power.
Step 4: Pour into Molds and Chill
Pour your liquid gummy mixture into silicone molds or a shallow dish lined with parchment paper. Pop it in the fridge for at least 2 hours, or until fully set. I like to press gently on the molds after about 90 minutes to check firmness so I don’t over-chill.
How to Serve Healthy Homemade Gummies Recipe
Garnishes
I often dust my gummies lightly with a bit of powdered sugar or finely shredded coconut for texture and to keep them from sticking together. It’s a small touch that makes them feel more special, especially when sharing with friends.
Side Dishes
Since these gummies are sweet but light, I like pairing them with a fresh fruit plate or a small serving of plain yogurt for balance. They also go great as a fun dessert alongside a cup of tea or sparkling water.
Creative Ways to Present
For birthdays or special occasions, I fill a colorful glass jar with these gummies and tie a ribbon around it—instant homemade gift! You can also layer different-flavored gummies in a clear container for a rainbow effect that’s sure to impress kids and adults alike.
Make Ahead and Storage
Storing Leftovers
I keep my leftover gummies in an airtight container in the fridge, and they usually last up to a week. Just be sure they’re lightly dusted or separated by parchment paper to avoid sticking.
Freezing
Freezing is totally possible! I freeze mine on a parchment-lined tray first, then transfer to a freezer bag. When you’re ready to enjoy, just thaw at room temperature for 10-15 minutes and they bounce back nicely without losing texture.
Reheating
If your gummies get a bit firm in the fridge, warming them slightly in your hands or leaving them out for a bit softens them up perfectly. Avoid microwaving—they can melt unevenly or become too sticky.
FAQs
-
Can I use fruit puree instead of juice for this Healthy Homemade Gummies Recipe?
Absolutely! Using fruit puree will give your gummies a thicker, slightly different texture and richer flavor. You might want to adjust the amount of liquid to keep the right set and balance the sweetness accordingly.
-
Is it possible to make these gummies vegan?
Yes, you can swap gelatin for agar-agar to make this recipe vegan. Keep in mind agar-agar sets firmer and sometimes quicker, so monitor the setting process closely. The texture will be a bit different but still enjoyable.
-
How long do homemade gummies last?
Stored in an airtight container in the fridge, these gummies should last about a week. Beyond that, they may start to lose their texture or become sticky, so it’s best to enjoy them fresh.
-
Can I add vitamins or supplements to the gummies?
Definitely! I’ve added powdered vitamin C or collagen peptides before, and it works nicely. Just mix them well into the warm juice before setting to ensure even distribution.
-
Why did my gummies turn out too soft or too hard?
If your gummies are too soft, it might mean the gelatin didn’t fully bloom or there wasn’t enough gelatin for the amount of liquid. Too hard? Possibly too much gelatin or over-chilling. Make sure to measure carefully and bloom your gelatin properly for the best texture.
Final Thoughts
This Healthy Homemade Gummies Recipe has quickly become a favorite in my kitchen because it’s so simple yet satisfying. I love how it brings a wholesome, homemade vibe to a classic candy, and I hope you enjoy making it as much as I do. Give it a try, play with the flavors, and treat yourself to a fun, healthy snack that feels like a little moment of joy.
Print
Healthy Homemade Gummies Recipe
- Prep Time: 10 minutes
- Cook Time: 5 minutes
- Total Time: 2 hours 15 minutes
- Yield: Approximately 20 small gummies 1x
- Category: Snacks
- Method: Stovetop
- Cuisine: American
- Diet: Low Fat
Description
These Healthy Homemade Gummies are a delicious and nutritious treat made with natural fruit juice, honey, and gelatin. Perfect as a guilt-free snack, they combine natural sweetness with the benefits of real fruit juice and a smooth, chewy texture. Easily customizable with your favorite juices, these gummies are simple to prepare and ideal for anyone looking for a healthy alternative to store-bought candy.
Ingredients
Gummies
- 1/3 cup fruit juice (apple, orange, cranberry, or grape) – 80g
- 2 Tbsp honey – 42g
- 2 tsp (1 packet) stevia or granulated sugar – optional – 4g
- 2 1/2 tsp (1 envelope) unflavored gelatin – 7g
Instructions
- Prepare the gelatin mixture: In a small bowl, sprinkle the unflavored gelatin evenly over 1/4 cup of cold fruit juice. Let it sit for 5 minutes to bloom, allowing the gelatin to absorb the liquid and soften.
- Heat the juice and sweeteners: In a small saucepan, combine the remaining fruit juice, honey, and optional stevia or sugar. Warm over low heat, stirring gently until the honey and sugar dissolve completely. Avoid boiling to preserve the natural flavors and benefits of the juice.
- Add the gelatin: Stir the bloomed gelatin mixture into the warm juice and sweetener mixture. Continue stirring over low heat until the gelatin is fully dissolved, ensuring a smooth blend without lumps.
- Pour into molds: Remove from heat and carefully pour the mixture into silicone candy molds or a lined shallow dish. Work quickly as the mixture will start to set as it cools.
- Chill and set: Refrigerate the molds for at least 2 hours or until the gummies are firm and fully set. Once set, pop the gummies out of the molds and store them in an airtight container in the refrigerator.
Notes
- Using pure fruit juice without added sugars ensures natural sweetness and better flavor.
- The optional stevia or sugar can be omitted for a less sweet version, depending on your taste preferences.
- Silicone molds make it easier to remove the gummies; alternatively, use a greased shallow pan and cut into squares once set.
- Store gummies refrigerated in an airtight container for up to 1 week for optimal freshness.
- You can experiment with different fruit juices to vary the flavor and color of your gummies.
Keywords: Healthy gummies, homemade gummies, fruit juice gummies, natural candy, low sugar snack