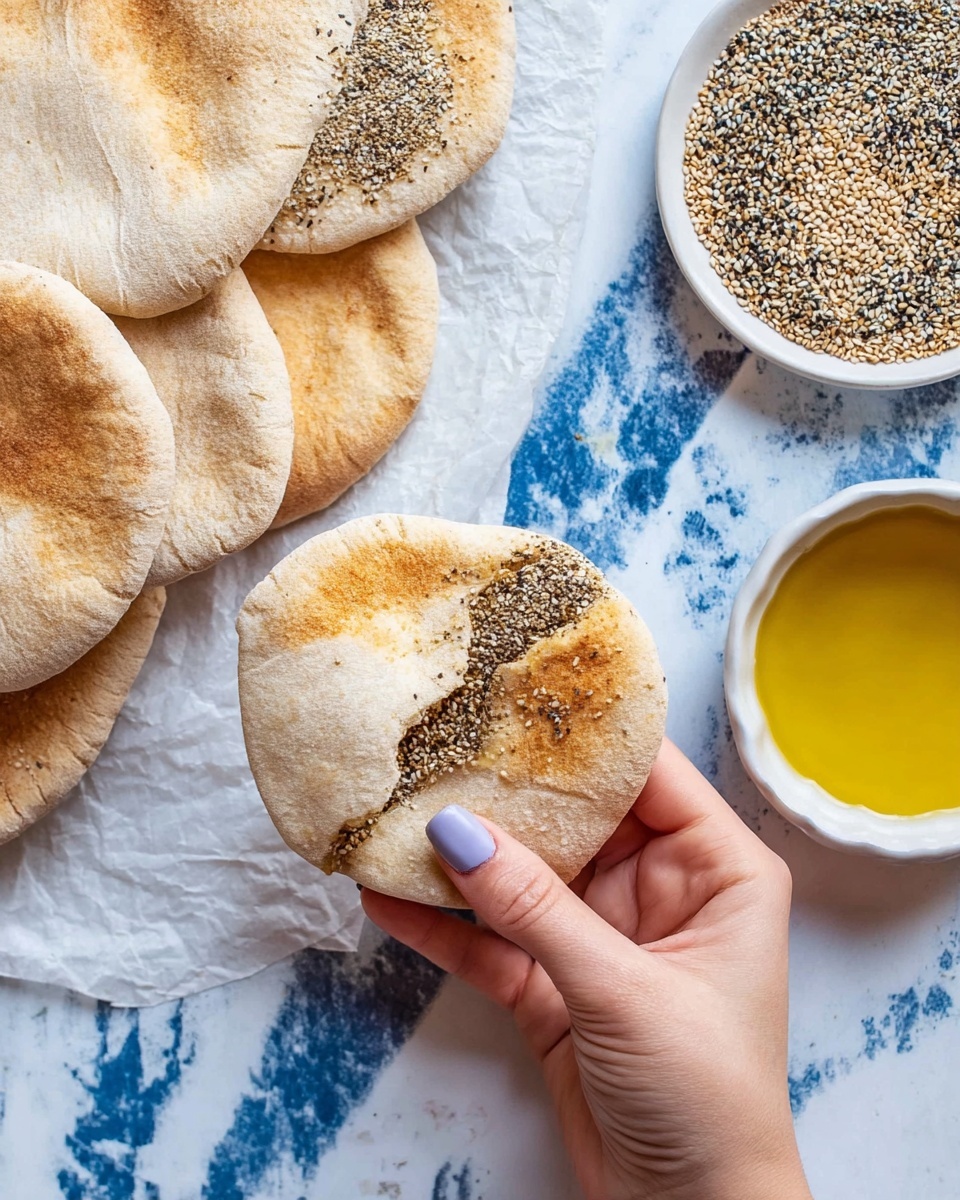
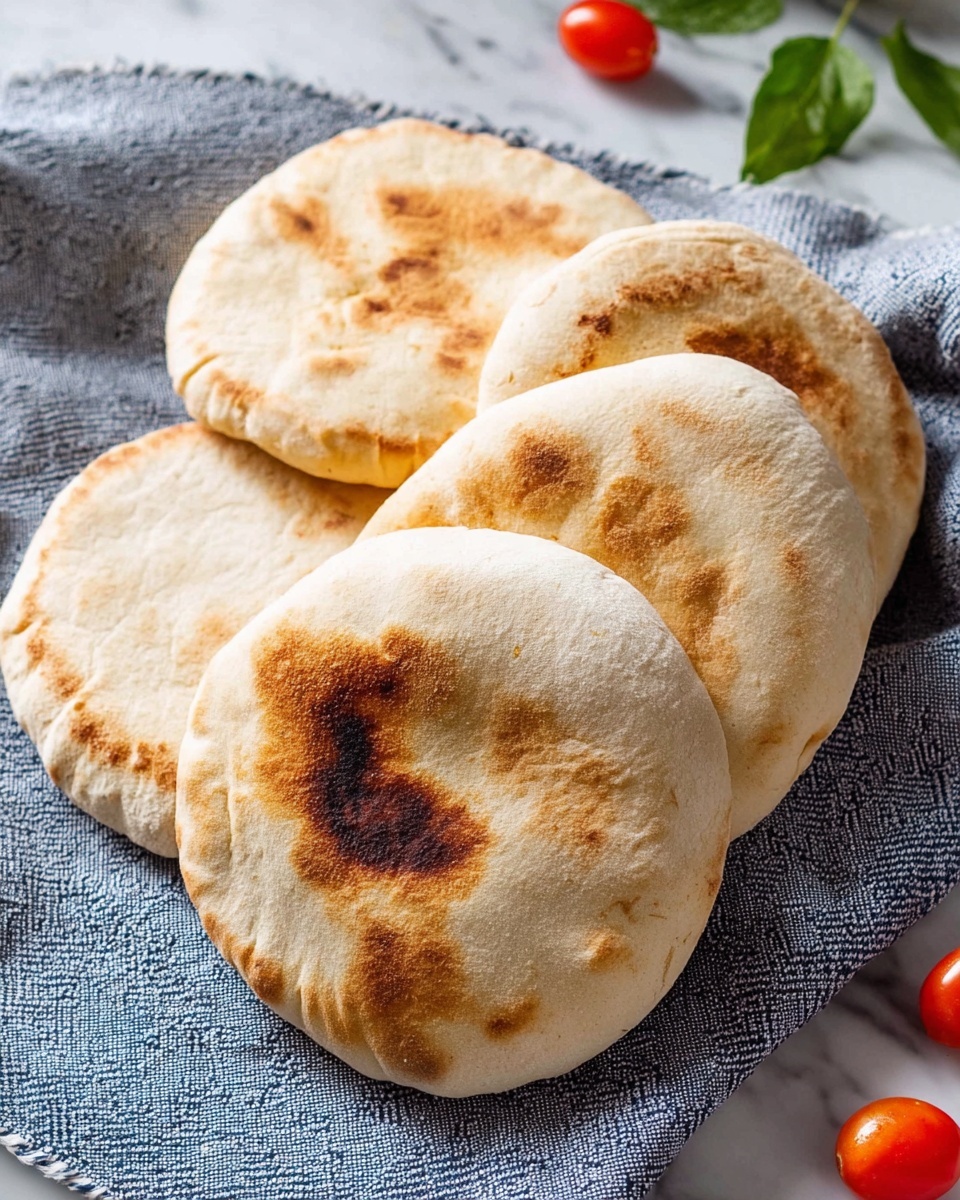
Soft and Fluffy Homemade Pita Bread Recipe
There’s something magical about pulling warm, pillowy pockets of Soft and Fluffy Homemade Pita Bread right out of your own oven. This recipe is not only satisfying because you made it yourself, but the texture and flavor are unbeatable compared to store-bought options. Whether you’re craving Mediterranean vibes or just want a versatile bread that pairs beautifully with dips, sandwiches, or grilled meats, this is your new go-to recipe.
What I love most about this Soft and Fluffy Homemade Pita Bread Recipe is how it brings people together. I often bake a batch when friends come over, and nothing beats that moment when everyone marvels at how soft and fresh the bread is. Plus, once you get the hang of the steps, it’s surprisingly quick and straightforward—perfect for a last-minute gathering or weeknight dinner.
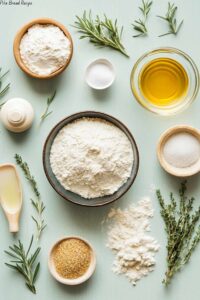
Ingredients You’ll Need
These ingredients come together simply but smartly to give the pita its characteristic softness and fluffiness. Each element plays a role, from the yeast that makes it rise to the olive oil that enriches the dough’s texture.
- All-purpose flour: This gives the pita its structure and chew. If you want a slightly nuttier flavor, whole wheat flour works too, but stick with all-purpose for the fluffiest results.
- Lukewarm water: Vital for activating the yeast without killing it—think warm bath temperature, not hot.
- Active dry yeast or instant dry yeast: This is the magic that helps the dough rise and puff up beautifully. Instant yeast works a bit faster if you’re in a hurry.
- Sugar: A little sweetness not only feeds the yeast but balances the salty and savory flavors.
- Salt: Essential for flavor and helps strengthen the dough’s gluten network.
- Olive oil: Adds moisture and tenderness to keep the pita soft after baking.
Variations
While I usually stick to the classic Soft and Fluffy Homemade Pita Bread Recipe, I love tweaking it depending on the occasion. Don’t be afraid to personalize it—you’ll find joy in experimenting with additions and methods that suit your taste.
- Whole wheat version: I swapped half the flour for whole wheat once and loved the heartier, slightly nutty flavor it added. Just expect a denser pita.
- Herbed pita: Toss in some dried oregano or za’atar to the dough for a fragrant twist that’s perfect for pairing with hummus or grilled veggies.
- Gluten-free adaptation: Using a gluten-free flour blend can be tricky, but with xanthan gum and a bit more hydration, you can achieve a soft pita close to the original.
- Quick yeast-free version: If you’re short on time, using self-rising flour or baking powder won’t puff up the pockets like yeast, but you get a softer flatbread that’s still delightful.
How to Make Soft and Fluffy Homemade Pita Bread Recipe
Step 1: Activate Your Yeast
Start with lukewarm water—warm enough to be cozy on your wrist but not scalding. Stir in the sugar and yeast, then let it sit for about 5-10 minutes. You’ll know it’s ready when it becomes foamy on top. This tells you your yeast is alive and kicking, which is key to that perfect puff later on.
Step 2: Mix and Knead Your Dough
In a large bowl, combine the flour and salt. Make a well in the center and pour in your yeast mixture along with the olive oil. Mix everything until it starts coming together, then knead on a lightly floured surface for about 8-10 minutes. I usually knead until the dough feels smooth and elastic—not sticky.
If your dough feels dry, add a teaspoon of water at a time. Conversely, if it’s too sticky, dust lightly with flour—but be careful because too much flour makes the pita tough.
Step 3: Let the Dough Rise
Place the dough in an oiled bowl, cover with a damp cloth or plastic wrap, and let it rise in a warm spot for about 1 to 1.5 hours, until it doubles in size. I usually put mine on top of the fridge or inside an oven with the light on. This rest period is what makes the pita soft and airy.
Step 4: Shape and Rest the Pitas
After the dough has risen, punch it down gently and divide it into 8-10 equal portions. Roll each ball into a smooth round, then use a rolling pin to flatten each piece to about 1/4 inch thick. Let the rounds rest for 10-15 minutes covered with a cloth—this little pause helps the dough relax and puff beautifully once baked.
Step 5: Cook Your Pitas
Heat a cast iron skillet or heavy-bottomed pan over medium-high heat—no oil needed here. Place one rolled dough circle in the pan and cook for about 1-2 minutes until bubbles start forming and the bottom is browned. Flip and cook the other side for another minute. You’ll notice the pita puff into a pocket—this is the best sign! Keep warm in a towel as you cook the rest.
How to Serve Soft and Fluffy Homemade Pita Bread Recipe
Garnishes
I love brushing the hot pitas with a little melted butter or olive oil and sprinkling them with za’atar or sesame seeds before serving. It adds a subtle extra flair and makes them perfect for dipping into tzatziki or baba ganoush. Fresh herbs like parsley or cilantro sprinkled on top never hurt either!
Side Dishes
Soft pita bread pairs wonderfully with grilled chicken kebabs, falafel, or a vibrant tabbouleh salad. I also like serving mine alongside warm lentil soup or a chunky tomato-and-cucumber salad for a light, satisfying meal.
Creative Ways to Present
For parties, I’ve sliced my pitas into small triangles, stacked them on a platter with bowls of hummus and olives, making it easy for guests to snack. Stuffing the pockets with roasted veggies, grilled meats, or spiced chickpeas also turns these pitas into handheld delights perfect for casual dinners or picnics.
Make Ahead and Storage
Storing Leftovers
I keep leftover pita bread in a zip-top bag at room temperature for up to 2 days, wrapping them in a clean kitchen towel to retain moisture. This really helps keep the softness intact without going stale too quickly.
Freezing
Freezing works like a charm with this Soft and Fluffy Homemade Pita Bread Recipe. I layer pita in freezer bags with parchment paper in between to prevent sticking, then freeze for up to 3 months. It’s a lifesaver for busy weeks when you want fresh bread fast.
Reheating
To reheat, I sprinkle a little water on the pita and wrap it in foil before popping it in a 350°F oven for 5-7 minutes. You can also warm it quickly in a dry skillet, which brings back the softness and some of that fresh-baked charm instantly.
FAQs
-
Why did my homemade pita not puff up?
There are a few common reasons: the dough might not have risen enough, the pan may not have been hot enough, or the dough was rolled too thin or unevenly. Make sure the yeast is active, the cooking surface is fully preheated, and you roll the dough to about 1/4 inch for perfect pouches.
-
Can I make pita bread without yeast?
Yes, but your pita won’t puff up into pockets like traditional yeast versions. Using baking powder or self-rising flour can make a softer flatbread that works well for wraps but lacks the distinct airy pocket.
-
How long does homemade pita bread keep fresh?
Stored properly in an airtight container or bag at room temperature, homemade pita bread stays fresh for 2-3 days. Beyond that, it’s best to freeze for longer storage.
-
What’s the best flour for soft and fluffy pita?
All-purpose flour is ideal because it provides the right gluten content for softness and puffiness. Using bread flour will make it chewier, and whole wheat flour will add flavor but make it denser.
-
Can I make pita bread ahead of time?
Absolutely! You can prepare the dough ahead and refrigerate it for up to 24 hours to develop flavor before baking. The baked pita can also be stored or frozen for quick reheating later.
Final Thoughts
This Soft and Fluffy Homemade Pita Bread Recipe has become one of my absolute favorites to bake at home. There’s such satisfaction in making bread that’s not only delicious but also so soft and pillowy inside, perfect for stuffing or dipping. Trust me when I say once you try this, you won’t want to go back to store-bought pita anymore—give it a shot, and you’ll be sharing it with your own friends and family before long!
Print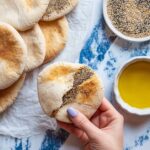
Soft and Fluffy Homemade Pita Bread Recipe
- Prep Time: 15 minutes
- Cook Time: 20 minutes
- Total Time: 2 hours 5 minutes
- Yield: 8 pita breads 1x
- Category: Bread
- Method: Stovetop
- Cuisine: Mediterranean
- Diet: Vegetarian
Description
This easy and delicious Pita Bread recipe delivers soft, fluffy, and perfectly pocketed flatbreads that are ideal for sandwiches, dips, or serving alongside Mediterranean dishes. Made with simple ingredients, this homemade pita bread is perfect for beginners and requires only basic kitchen tools.
Ingredients
Dry Ingredients
- 3⅓ cups all-purpose flour
- 2 teaspoons active dry yeast or instant dry yeast
- 2 teaspoons sugar
- 2 teaspoons salt
Wet Ingredients
- 1¼ cups lukewarm water
- 2 tablespoons olive oil
Instructions
- Activate the Yeast: In a small bowl, combine the lukewarm water, sugar, and yeast. Stir gently and let it sit for 5 to 10 minutes until it becomes frothy, indicating the yeast is active.
- Mix the Dough: In a large mixing bowl, whisk together the flour and salt. Make a well in the center and pour in the yeast mixture and olive oil. Stir with a wooden spoon until the dough begins to come together.
- Knead the Dough: Transfer the dough onto a floured surface and knead for about 8 to 10 minutes until it is smooth and elastic. Alternatively, use a stand mixer fitted with a dough hook for this step.
- First Rise: Place the dough in a lightly oiled bowl, cover it with a damp cloth or plastic wrap, and let it rise in a warm place for 1 to 1.5 hours or until doubled in size.
- Divide and Shape: Punch down the dough to release air. Divide it into 8 equal pieces. Roll each piece into a tight ball, then flatten each ball into a 6-inch diameter circle using a rolling pin.
- Second Rise: Place the flattened dough circles on a lightly floured surface or baking sheet, cover, and let them rise for another 30 minutes.
- Cook the Pita Bread: Preheat a skillet or cast-iron pan over medium-high heat. Place one dough circle in the pan and cook for about 1 to 2 minutes until bubbles form on the surface. Flip and cook for another 1 to 2 minutes until puffed and golden on both sides. Repeat with remaining dough circles.
- Cool and Serve: Transfer the cooked pita breads to a clean kitchen towel and cover to keep warm and soft. Serve fresh or store cooled pita bread in an airtight container.
Notes
- Ensure the water is lukewarm (about 100-110°F) to properly activate the yeast without killing it.
- Use a hot, dry skillet for cooking to achieve the characteristic pita puff.
- Pita bread is best enjoyed fresh but can be stored in a sealed bag at room temperature for up to 2 days or frozen for longer storage.
- For softer pitas, brush cooked bread lightly with olive oil while warm.
Keywords: pita bread, flatbread recipe, homemade pita, Mediterranean bread, easy bread recipe