Strawberry Vanilla Swirled Fudge Recipe
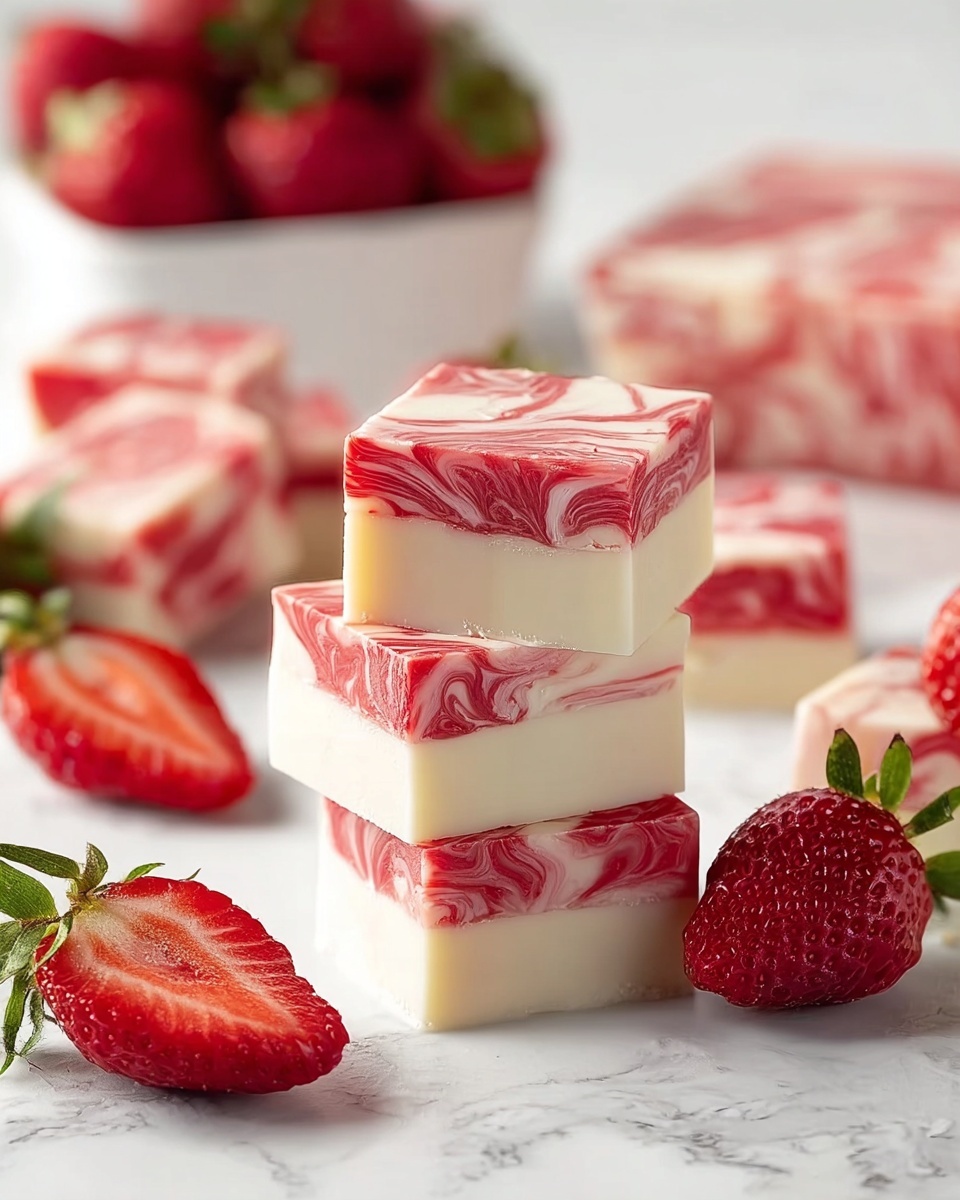
I’ve got a real treat for you today — a Strawberry Vanilla Swirled Fudge Recipe that’s as fun to make as it is delicious to eat. This fudge strikes the perfect balance between creamy vanilla sweetness and bright strawberry flavor, swirled together into a stunning marble pattern. Whether you’re making this for a cozy night in or as a beautiful homemade gift, it’s guaranteed to impress.
What I love most about this Strawberry Vanilla Swirled Fudge Recipe is how approachable it is but still feels a little fancy with those gorgeous pink swirls. It’s the kind of recipe that’ll have your kitchen smelling amazing and your friends asking for seconds. Plus, since it sets in the fridge, you can prep it ahead of time and have a stunning dessert ready when you need it.
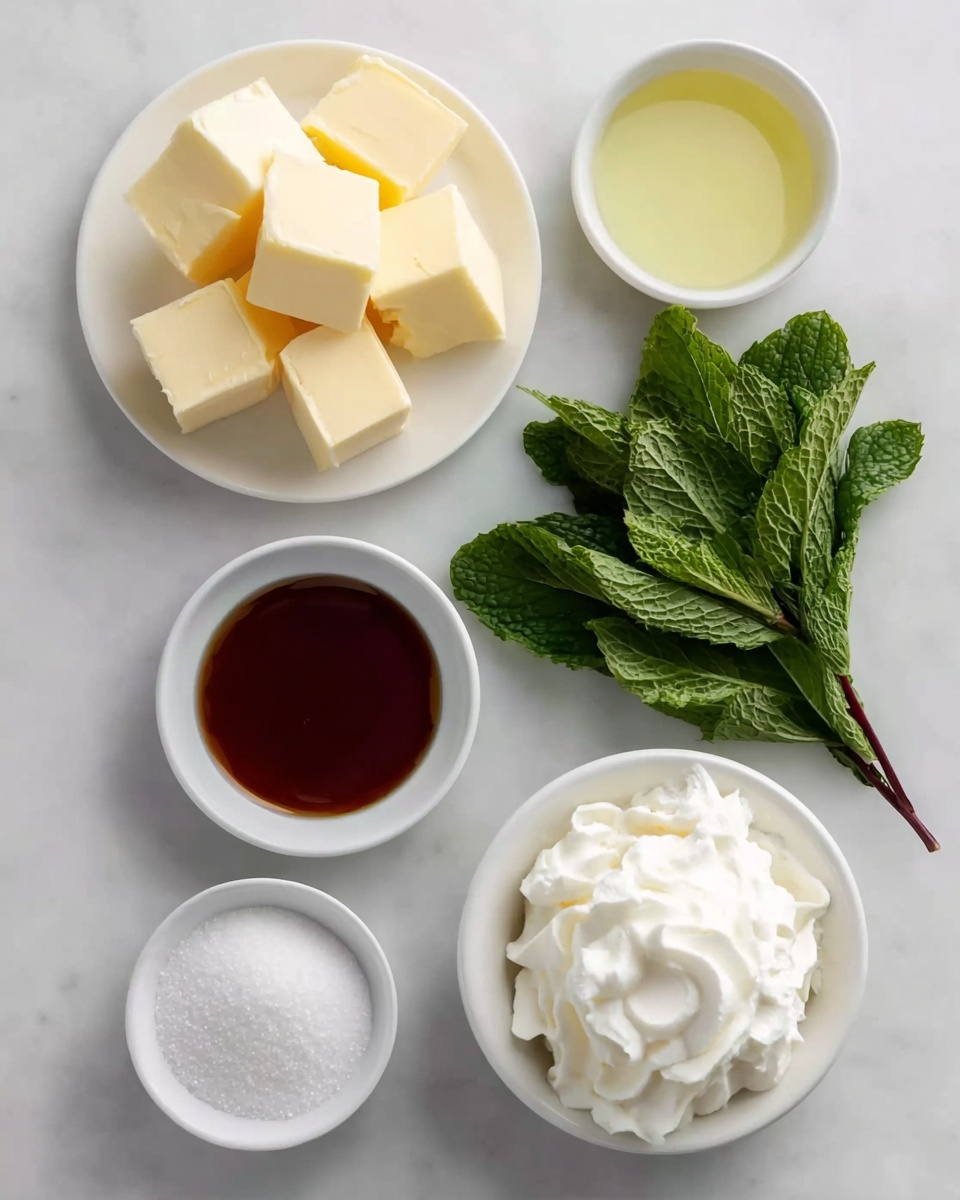
Ingredients You’ll Need
Each ingredient plays a key role here, from the rich creaminess of butter and white chocolate to the fresh punch of strawberry extract. Pick quality ingredients for the best flavor and texture — it really makes a difference.
- Strawberry extract: I recommend Watkins for a pure, intense strawberry flavor that won’t get lost in the fudge.
- Red food color gel: This helps create those gorgeous swirls without diluting the fudge; gel color works better than liquid for vibrant hues.
- Salted sweet cream butter: The salt balances the sweetness and adds depth, plus makes the fudge ultra-smooth.
- Half and half: Adds creaminess but keeps the fudge from being too rich or heavy.
- Heavy cream: Brings fat and richness that’s essential to a melt-in-your-mouth texture.
- Clear vanilla flavoring: A subtle background note that ties the whole flavor profile together without overpowering the strawberry.
- Marshmallow fluff: This ingredient adds just the right sticky sweetness and helps give fudge that signature creamy, fluffy mouthfeel.
- Granulated sugar: The backbone of the fudge’s sweetness and structure, so don’t skip it!
- White baking chips (Ghirardelli recommended): Choose good quality chocolate chips for the best melt and flavor.
Variations
I’m all for making recipes your own, and this Strawberry Vanilla Swirled Fudge Recipe is no exception. Feel free to customize flavors or mix-ins to suit your mood or dietary needs — the base is incredibly flexible!
- Berry swap: I once replaced strawberry extract with raspberry and it still turned out delicious, just a slightly different tartness.
- Dairy-free version: Use coconut cream and non-dairy butter substitutes to keep the creaminess but make it plant-based.
- Add-ins: Chopped toasted almonds or white chocolate chips stirred into the base add a fun textural contrast.
- Striped look: Instead of swirling, pour layered colors for a neat, striped effect — perfect for a gift box presentation.
How to Make Strawberry Vanilla Swirled Fudge Recipe
Step 1: Prepare Your Pan and Color Mixture
Start by lining a 9×9-inch baking dish with parchment paper, making sure the paper extends up all sides. This part is super helpful for lifting out the fudge later without breaking it. Next, mix your strawberry extract with the red food color gel in a small bowl — stirring them first prevents those pesky dark streaks and helps the color distribute evenly in the fudge.
Step 2: Melt and Combine the Dairy
In a heavy-bottomed saucepan on medium heat, combine the butter, half and half, heavy cream, and clear vanilla flavoring. Stir constantly until the butter is fully melted — this keeps everything smooth and prevents scorching.
Step 3: Add Sugar and Simmer
Gradually stir in the granulated sugar, keeping the mixture moving as it heats to a gentle simmer. This usually takes about 6-7 minutes — I like to watch carefully here because the sugar can settle and burn on the bottom if you walk away. Once simmering, give it another 3 minutes to develop the right texture, then take the pot off the heat.
Step 4: Incorporate the White Chocolate Chips
Add your white baking chips to the hot mixture, cover the pan, and let them sit for 3-4 minutes off the heat. This gentle melting step means you won’t have to over-stir or risk a grainy texture. After resting, stir thoroughly till the chips are silky smooth and totally combined.
Step 5: Mix in the Marshmallow Fluff
Now fold in the marshmallow fluff. This step transforms the fudge into ultra-creamy goodness and adds a subtle airy texture that’s irresistible. Make sure it’s completely smooth with no lumps.
Step 6: Create and Swirl the Strawberry Layer
Pour about three-quarters of the fudge into your prepared baking dish. Stir the strawberry and red color mix into the leftover fudge in the saucepan until the color is even. Spoon dollops of the pink fudge over the vanilla base, and then use a knife to swirl them gently for that classic marbled look. Let it rest at room temp for about 30 minutes to start setting.
Step 7: Chill and Cut
Transfer the fudge to the refrigerator and chill for at least 4 hours until it’s fully set. When ready, lift the fudge from the pan using the parchment paper and cut into 5×5 squares for 25 beautiful pieces. Keep them refrigerated until serving for the best texture.
How to Serve Strawberry Vanilla Swirled Fudge Recipe
Garnishes
I usually like to keep it simple with these fudge pieces — a light dusting of edible gold glitter or some freeze-dried strawberry bits sprinkled on top just before serving adds a nice touch without overpowering the flavor. Plus, they add a little crunch and extra strawberry pop.
Side Dishes
This fudge pairs wonderfully with a hot cup of tea or coffee — the creamy sweetness is a perfect counterpoint to a strong, slightly bitter drink. I’ve even enjoyed it alongside a scoop of vanilla ice cream for a decadent dessert plate.
Creative Ways to Present
For special occasions, I love arranging the fudge on a pretty platter with fresh strawberries and vanilla bean pods for visual appeal. Wrapping individual squares in wax paper tied with little ribbons also makes adorable party favors or gifts for neighbors.
Make Ahead and Storage
Storing Leftovers
I store leftover fudge tightly wrapped in an airtight container in the fridge. It keeps perfectly for about two weeks without drying out or losing that luscious texture. Just make sure to separate layers with parchment paper so they don’t stick together.
Freezing
Freezing fudge is totally doable — I slice it first, then wrap each piece in plastic wrap and pop them in a freezer-safe bag. When you’re ready, thaw in the fridge overnight. I’ve found this method keeps the fudge fresh for up to 3 months without compromising taste or texture.
Reheating
Reheating fudge is usually not necessary, but if you want it softer, I warm pieces briefly in the microwave for 5-10 seconds. Be careful not to melt them completely — you just want it soft enough to enjoy that creamy, melt-in-your-mouth feeling again.
FAQs
-
Can I use fresh strawberries instead of strawberry extract in this fudge?
Fresh strawberries won’t work well in this recipe because their natural moisture content can affect the fudge’s texture. The strawberry extract provides concentrated flavor without adding liquid, which is essential to maintaining that creamy fudge consistency.
-
Why is it important to use red food color gel instead of liquid?
Gel food coloring adds vibrant color without altering the fudge’s consistency. Liquid color can add extra moisture that might throw off the texture or cause the fudge to seize.
-
How do I prevent the fudge from becoming grainy?
Stir continuously when heating the sugar mixture to prevent crystallization, and use a heavy-bottom saucepan to distribute heat evenly. Also, resting the white chips covered allows them to melt smoothly without over-stirring.
-
Can I make this fudge without marshmallow fluff?
Marshmallow fluff helps create a creamy, fluffy texture, but if you can’t find it, you might experiment with a similar amount of melted marshmallows. The texture could be slightly different, though, so I’d stick to fluff if possible.
-
What’s the best way to cut the fudge without it sticking to the knife?
Use a sharp knife and warm it slightly under hot water, then wipe it dry before cutting. This helps prevent sticking and gives you clean, smooth slices.
Final Thoughts
This Strawberry Vanilla Swirled Fudge Recipe has become a favorite of mine for so many reasons — it’s elegant yet simple, deliciously creamy, and the pink swirl just makes it all feel festive. I hope you give it a try and enjoy making (and sharing) it as much as I do. It’s the type of sweet treat that sparks smiles, and honestly, who couldn’t use a little more goodness like that in their kitchen?
Print
Strawberry Vanilla Swirled Fudge Recipe
- Prep Time: 5 minutes
- Cook Time: 15 minutes
- Total Time: 4 hours 50 minutes
- Yield: 25 pieces 1x
- Category: Dessert
- Method: Stovetop
- Cuisine: American
Description
This luscious Strawberry Fudge recipe combines creamy white baking chips with the rich flavors of strawberry extract and marshmallow fluff, creating a smooth, melt-in-your-mouth treat with an inviting marbled pink swirl. Perfect for gifting or a sweet indulgence, this fudge sets beautifully after chilling, showcasing a delightful balance of sweetness and fruity undertones.
Ingredients
Flavoring
- 2 teaspoons strawberry extract (Watkins recommended)
- ½ teaspoon red food color gel
- 1 teaspoon clear vanilla flavoring
Dairy
- ¾ cup salted sweet cream butter
- ½ cup half and half
- ⅓ cup heavy cream
Sweets and Mix-ins
- 7 ounces marshmallow fluff (1 container)
- 3 cups + 2 tablespoons granulated sugar
- 1¾ cups good quality white baking chips (Ghirardelli recommended)
Instructions
- Prepare baking dish: Line a 9×9-inch baking dish with parchment paper, ensuring the paper extends up all sides for easy fudge removal later. Set aside.
- Mix coloring: In a small glass bowl, combine the strawberry extract and red food color gel. Stir well to achieve an even blend and prevent staining.
- Melt butter and liquids: In a heavy-bottomed 3 to 4-quart saucepan over medium heat, combine butter, half and half, heavy cream, and vanilla. Stir continuously until the butter has fully melted.
- Add sugar and simmer: Gradually add the granulated sugar to the saucepan, stirring constantly. Heat until the mixture simmers gently for about 6-7 minutes, continue stirring and simmer an additional 3 minutes, then remove from heat.
- Melt white baking chips: Add the white baking chips to the hot mixture, cover the saucepan, and let it rest for 3-4 minutes. Then stir thoroughly until the chips are fully melted and mixture is smooth.
- Incorporate marshmallow fluff: Stir in the marshmallow fluff until the fudge mixture is uniform and creamy.
- Pour base fudge: Pour about three-quarters of the fudge mixture into the prepared baking dish.
- Color remaining fudge: Stir the strawberry extract and red food color mixture into the remaining fudge in the saucepan until evenly blended.
- Create marbled effect: Spoon dollops of the red-colored fudge over the base fudge in the dish. Use a kitchen knife to gently swirl the dollops, creating an attractive marbled pattern. Let the fudge sit at room temperature for 30 minutes.
- Chill fudge: Transfer the fudge to the refrigerator and chill for at least 4 hours until fully set.
- Slice and serve: Once set, lift the fudge from the dish using parchment paper. Using a sharp knife, cut the fudge into 25 squares (5 by 5). Keep refrigerated until serving.
Notes
- Use a heavy-bottomed saucepan to avoid burning the sugar mixture and ensure even heating.
- Allow resting time after adding white chips to ensure smooth melting without stirring too aggressively.
- Swirling with a knife creates a beautiful marbled look—avoid over-mixing to keep distinct swirls.
- Keep fudge refrigerated after cutting to maintain firmness.
- For best flavor, let fudge chill overnight.
- If a more intense strawberry flavor is desired, increase extract slightly but be cautious not to overpower the balance.
Keywords: strawberry fudge, fudge recipe, white chocolate fudge, dessert fudge, marbled fudge, marshmallow fudge, holiday fudge