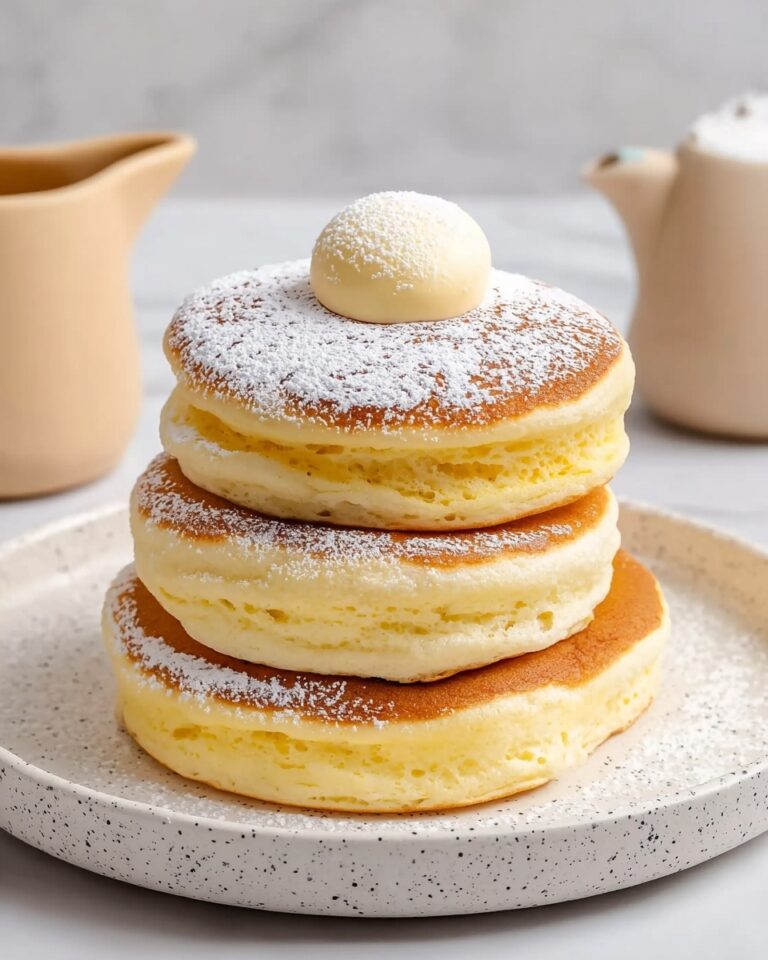
Cream Cheese Mints Recipe
If you’ve ever wanted to make a sweet little treat that’s both refreshing and nostalgic, then this Cream Cheese Mints Recipe is just the thing. These little melt-in-your-mouth candies bring back memories of holiday gatherings and church socials for me, but honestly, they’re perfect anytime you need a quick and charming hostess gift or an after-dinner palate cleanser. The cream cheese adds a lovely smoothness that pairs beautifully with the peppermint extract, making every bite feel special.
What I really love about this Cream Cheese Mints Recipe is how easy it is to personalize and how rewarding it feels to make something from scratch that usually you’d only buy boxed. Plus, you can whip them up with just a handful of ingredients you probably already have in your pantry. Whether it’s the holidays, a party, or just a cozy night in, these mints will win over your guests—and maybe even yourself!
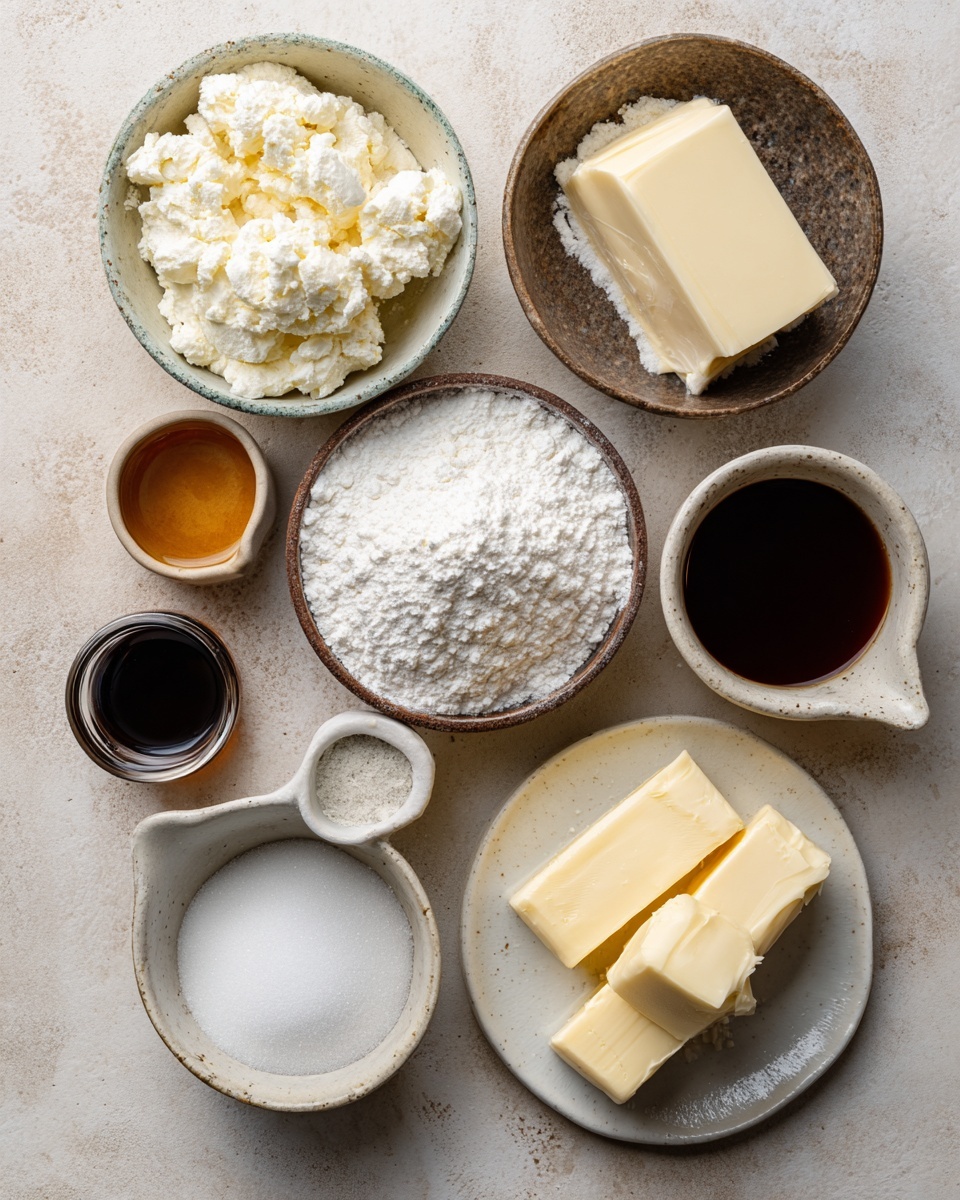
Ingredients You’ll Need
These ingredients work so well together to give you that classic, creamy, and minty treat that’s not too sweet but just right. When shopping, opt for brick-style cream cheese—not the spreadable tub kind—to get the best texture for rolling the mints.
- Cream Cheese: Use brick-style and make sure it’s softened for easy mixing and smooth texture.
- Salted Butter: Softened butter adds richness and helps bind everything together.
- Powdered Sugar: This is the key to that melt-away sweetness and stiffness you want in the dough.
- Peppermint Extract: The star flavor! Be generous but not overpowering.
- Vanilla Extract: Adds a subtle warmth that balances the peppermint.
- Food Coloring (optional): Fun for making festive or themed mints in different colors.
Variations
I love how this Cream Cheese Mints Recipe is a blank canvas for your creativity. I often tweak the colors or add little twists on flavor depending on the season or occasion. Don’t be afraid to experiment!
- Color Variations: I’ve made rainbow mints for baby showers by dividing the dough and adding different food colorings—so fun and festive!
- Flavor Twists: Swapping out peppermint for almond or lemon extract makes these mints equally delightful and a bit unexpected.
- Dietary Modifications: For a dairy-free option, try substituting vegan cream cheese and butter alternatives—though texture might be a bit different.
- Using Molds: If you’ve got candy molds, try pressing the dough into them instead of rolling balls—makes for charming shapes, perfect for gifting.
How to Make Cream Cheese Mints Recipe
Step 1: Cream the Base
Start by beating your softened cream cheese and salted butter together in a stand mixer or with an electric hand mixer until you get a smooth, creamy consistency. This usually takes about 2 to 3 minutes. This step is crucial because you want the fats well combined to get that silky texture in the final mints.
Step 2: Gradually Add Sugar
Next, while your mixer is on low, slowly add in half of your powdered sugar. This helps you incorporate the sugar evenly without creating a cloud of powdered sugar mess. Keep mixing until everything is thoroughly blended.
Step 3: Flavor and Finish the Dough
Stir in your peppermint and vanilla extracts to the mixture. Then add the remaining powdered sugar bit by bit, mixing continuously and scraping down the sides of the bowl. You want to get a stiff dough that feels like play-dough—not sticky but firm enough to shape. If it’s too sticky, just add more powdered sugar a tablespoon at a time.
Step 4: Add Color and Shape
If you’re using food coloring, now’s the time to add it. You can either mix it all into one batch or divide the dough into smaller bowls for multiple colors. I find that kneading the color in with a spatula works well if you’re doing small amounts. Next, roll the dough into teaspoon-sized balls and place them on a wax paper–lined tray.
Step 5: Press and Let Dry
Dip a fork’s tines in some powdered sugar and gently press down on each ball to flatten and imprint the classic mint pattern. Leave the mints to dry at room temperature for several hours, or even overnight. They should harden up enough so they don’t squish when pressed.
How to Serve Cream Cheese Mints Recipe
Garnishes
I usually keep it simple and serve these mints plain, but for a little extra pizzazz, you can sprinkle crushed peppermint candy or edible glitter on top before they dry. It adds a festive touch without taking away from the creamy mint flavor.
Side Dishes
These mints are lovely alongside cups of hot tea or coffee—they really help cleanse your palate after a rich meal. I also like to include them on dessert trays or with cookies as a fresh contrast.
Creative Ways to Present
For holidays and special occasions, I’ve packed these mints into small, clear favor boxes tied with colorful ribbons. You can also layer them with wax paper in pretty glass jars or arrange them on a decorative plate sprinkled with crushed candy canes for a charming display that guests can’t resist.
Make Ahead and Storage
Storing Leftovers
I store leftover mints in an airtight container lined with wax paper between layers to prevent sticking. They keep beautifully in the fridge for up to two weeks, perfect if you want to prepare them ahead of time for a party.
Freezing
Freezing cream cheese mints works surprisingly well! I wrap them individually or layer with wax paper inside a freezer-safe container. When you’re ready to enjoy them, just thaw in the fridge for a few hours beforehand to keep their texture intact.
Reheating
Since mints are best served cool and firm, I generally avoid reheating. If they soften too much after thawing, just pop them back in the fridge for a bit to firm up again. They hold their flavor and texture best when chilled.
FAQs
-
Can I use whipped cream cheese for this recipe?
It’s best to use regular brick-style cream cheese rather than whipped or spreadable types for this Cream Cheese Mints Recipe. The whipped variety has added air and moisture that can make the dough too soft and difficult to handle.
-
How do I make sure my mints don’t stick together?
When storing, layer your mints with sheets of wax paper between them inside an airtight container. Also, make sure the mints are completely dry before storing to prevent stickiness.
-
Can I make these mints without food coloring?
Absolutely! The food coloring is optional and mainly for festive or decorative purposes. Plain white mints are classic and taste just as delicious.
-
How long do cream cheese mints last?
Stored properly in an airtight container in the refrigerator, these mints last up to two weeks. They maintain their flavor and texture well within that timeframe.
-
Can I shape these mints using molds?
Yes! To use molds, roll the dough into balls, roll them in granulated sugar (not powdered sugar), press into your molds firmly, then pop them out for fun shapes. It’s a great way to dress them up for special occasions.
Final Thoughts
There’s something so heartwarming about making homemade candy, and this Cream Cheese Mints Recipe truly hits that sweet spot—simple ingredients, easy steps, and results that feel impressive. I hope you’ll try making them soon, whether for holidays or any day you want a little minty joy. Once you do, I bet these will become one of your go-to treats for sharing with friends and family.
Print
Cream Cheese Mints Recipe
- Prep Time: 15 minutes
- Cook Time: 0 minutes
- Total Time: 3 hours 15 minutes
- Yield: Approximately 50 mints 1x
- Category: Candy
- Method: No-Cook
- Cuisine: American
Description
These Cream Cheese Mints are a creamy, sweet, and refreshing homemade treat perfect for special occasions or everyday enjoyment. Made with cream cheese, butter, powdered sugar, and peppermint extract, these mints have a smooth, melt-in-your-mouth texture and can be personalized with food coloring or shaped using molds for a festive touch.
Ingredients
Main Ingredients
- 4 oz (113 g) brick-style cream cheese, softened
- 1 Tablespoon salted butter, softened
- 4 cups (500 g) powdered sugar, plus additional as needed and for imprinting mints
- 1/2 teaspoon peppermint extract
- 1/8 teaspoon vanilla extract
- Food coloring, optional
Instructions
- Combine Cream Cheese and Butter: In the bowl of a stand mixer or a large mixing bowl, beat together the softened cream cheese and salted butter with an electric mixer until the mixture is creamy and fully combined.
- Add Sugar Gradually: With the mixer on low speed, slowly add 2 cups (250 g) of powdered sugar, mixing continuously until it is completely incorporated into the cream cheese and butter mixture.
- Add Flavorings: Add the peppermint extract and vanilla extract to the mixture and stir well to evenly distribute the flavors.
- Add Remaining Sugar: Continue mixing on low speed while gradually adding the remaining 2 cups (250 g) of powdered sugar. Occasionally scrape down the sides and bottom of the bowl. The dough should become very stiff and no longer sticky; if sticky, add more powdered sugar until it reaches a play-dough-like consistency.
- Incorporate Food Coloring (Optional): If desired, divide the dough into separate bowls and add food coloring to each. Mix thoroughly with the electric mixer until the color is evenly infused in the dough.
- Shape Mints: Roll the dough into teaspoon-sized portions between your palms until smooth. Place the formed mints on a wax-paper lined baking sheet. Dip the tines of a fork into powdered sugar and gently but firmly press down on each mint to imprint a pattern.
- Dry the Mints: Let the mints dry at room temperature for several hours until they are firm and dry to the touch (they should not squish when pressed). Once dried, transfer them to an airtight container and store in the refrigerator until ready to serve. To prevent sticking, layer mints with wax paper between each layer.
Notes
- Be sure to use brick-style cream cheese, not the spreadable type from a tub, for the right consistency.
- To create shaped mints, roll dough into balls, then roll in granulated sugar and press firmly into molds. Invert the mold to release shaped mints.
Keywords: cream cheese mints, peppermint mints, no bake mints, homemade candies, holiday treats