Homemade Freezer Waffles Recipe
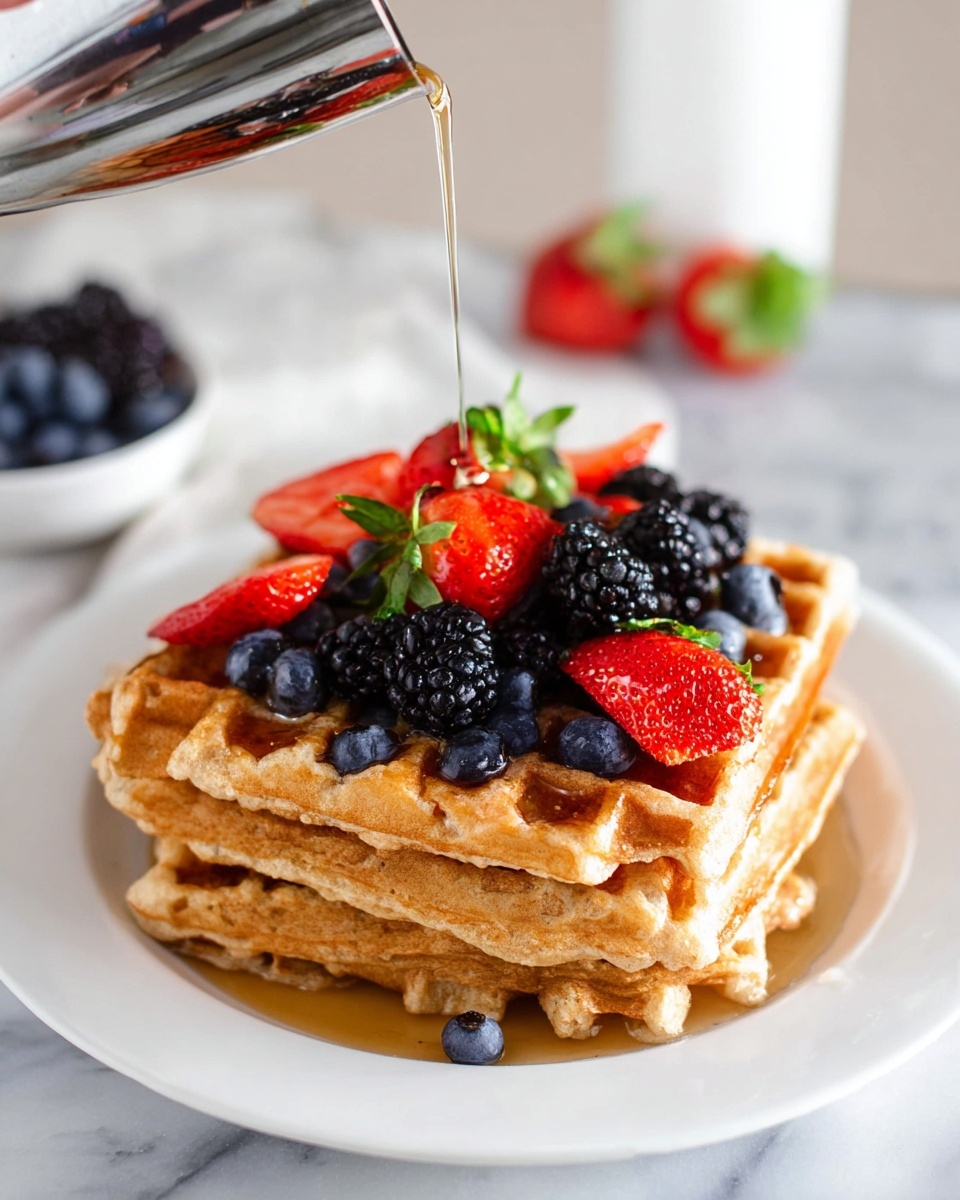
I’ve been making this Homemade Freezer Waffles Recipe for years, and let me tell you, it’s a real game-changer on busy mornings. Imagine waking up and having perfectly crispy waffles ready to pop into the toaster — no mess, no fuss, and all that homemade flavor and texture preserved beautifully. This recipe strikes such a perfect balance between fluffy and crispy, plus it freezes like a dream, making it super convenient.
What I love most about this Homemade Freezer Waffles Recipe is how versatile and forgiving it is. Whether you want a quick weekday breakfast or a weekend treat with the family, these waffles come through every time. Plus, they reheat like freshly made waffles, which means you never have to sacrifice quality for speed. Trust me, once you nail this recipe, it’ll become a staple in your kitchen too.
Ingredients You’ll Need
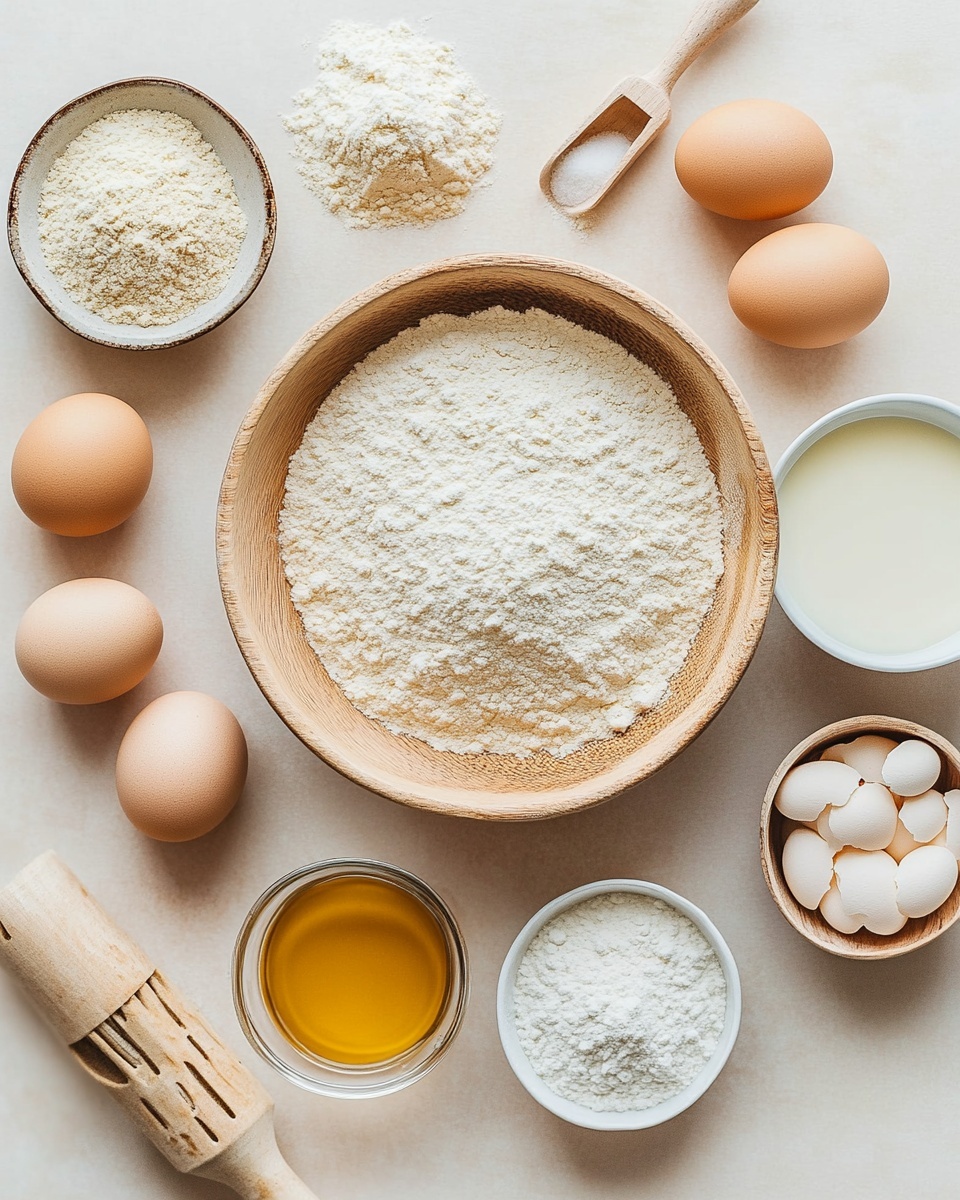
The ingredients are simple pantry staples that work together to give you that light, tender waffle with a bit of crispiness on the outside. A quick tip: use fresh baking powder for the best rise and fluffy texture.
- All-purpose flour: This forms the base and gives structure to your waffles while keeping them nicely tender.
- Cornstarch: Adding cornstarch helps create that sought-after crispiness in the waffle crust.
- Granulated sugar: Just enough sweetness to balance flavors without overpowering.
- Baking powder: Make sure it’s fresh to get that perfect rise and lift.
- Salt: Enhances all the natural flavors in the batter.
- Milk (any kind): I usually use whole milk for creaminess, but plant-based milks work well too.
- Vegetable or avocado oil (or melted coconut oil): Adds moisture and keeps waffles tender without weighing them down.
- Eggs (separated): Whipping the whites separately makes these waffles extra fluffy — definitely don’t skip this step.
- Vanilla extract: Just a splash adds a lovely warmth and depth to the batter.
Variations
I find that this Homemade Freezer Waffles Recipe is like a blank canvas, so I love tweaking it to suit different tastes or dietary needs. You can customize it easily without losing that great texture and flavor.
- Gluten-Free Version: I swapped in my favorite 1:1 gluten-free flour blend with success—just add a little extra milk if the batter feels thick.
- Sweet Twist: Stir in a handful of fresh blueberries or chocolate chips for a fun morning surprise.
- Flavor Boost: A pinch of cinnamon or nutmeg gives a cozy, spiced flavor that’s wonderful in fall and winter.
- Healthy Swap: Replace half the all-purpose flour with whole wheat flour for a nuttier taste and more fiber, but keep an eye on batter consistency.
How to Make Homemade Freezer Waffles Recipe
Step 1: Mix Your Dry Ingredients
Start by whisking together the flour, cornstarch, sugar, baking powder, and salt in a large bowl. This ensures everything is evenly distributed, which helps your waffles rise consistently and taste just right. I like to sift the baking powder with the flour to avoid any clumps.
Step 2: Whisk the Wet Ingredients
In a separate bowl, combine the milk, oil, egg yolks, and vanilla extract. Mixing these separately before adding to the dry creates a smooth batter. I usually use a fork or small whisk here—no need for anything fancy.
Step 3: Combine and Rest
Pour the dry ingredients into the wet ones and stir gently until just combined. Don’t overmix—it’s okay if there are a few lumps. Then, set the batter aside while you preheat your waffle iron. This little rest helps keep the waffles tender.
Step 4: Beat the Egg Whites
This is my secret for light, fluffy waffles—beat your egg whites with a hand mixer until soft peaks form. Then fold them gently into the batter, taking care not to deflate those lovely air bubbles. This step really makes a difference in texture, so don’t skip it!
Step 5: Cook Your Waffles
Grease the waffle iron lightly to prevent sticking. Use about a scant ¼ cup of batter per waffle if you’re making mini waffles like I do—this recipe yields around 18 mini waffles. Cook them until they’re just lightly golden; I actually cook them a little less than usual because they’ll get a second crisp when you reheat from frozen.
Step 6: Cool Completely Before Freezing
Transfer your freshly made waffles to a wire rack to cool—this is key to avoid soggy bottoms. Once cooled, pop them in a freezer-safe bag or container. They’ll keep beautifully for up to six months, ready for whenever you need a quick breakfast.
How to Serve Homemade Freezer Waffles Recipe
Garnishes
I love topping these waffles with a pat of butter and a drizzle of real maple syrup—the classic combo never gets old. Fresh berries or sliced bananas add a fresh, fruity contrast, and a dollop of Greek yogurt brings a nice tang if you want something creamy yet light.
Side Dishes
On busy mornings, I keep it simple with scrambled eggs or turkey sausage on the side. For weekend brunches, crispy bacon and a fresh fruit salad round out the meal perfectly. These waffles are such a crowd-pleaser—they pair well with almost anything.
Creative Ways to Present
For birthdays or a cozy brunch, I’ve stacked the waffles layered with whipped cream and sliced strawberries, turning them into a delightful waffle cake. You can also cut waffles into smaller pieces for fun waffle sticks—perfect for dipping in chocolate sauce or yogurt. It’s a fun way to mix things up and impress guests without extra hassle.
Make Ahead and Storage
Storing Leftovers
I always let my waffles cool completely, then layer them with parchment paper between each waffle before sealing them up in a freezer-safe zip-top bag. This way, they don’t stick together and you can grab exactly how many you want. I’ve found they stay fresh and tasty this way for months.
Freezing
I freeze the waffles flat on a baking sheet for a few hours before transferring them into bags to avoid clumping. This small extra step makes reheating so much easier because you can pull out individual waffles, not a big frozen block. It’s a trick I swear by for quick breakfasts.
Reheating
When I’m ready to eat, I often toast frozen waffles just like store-bought ones. If I need more of them warmed at once, I spread them on the oven rack at 350°F for about 5 minutes—crispy outside, tender inside every time. Sometimes the air fryer works great too, 2-3 minutes at 350°F and they come out perfect.
FAQs
-
Can I use whole wheat flour for this Homemade Freezer Waffles Recipe?
Yes! You can substitute half or all of the all-purpose flour with whole wheat flour. Keep in mind that whole wheat flour may make the batter a bit heavier, so add a splash more milk if needed. The waffles will taste nuttier and have more fiber, which I actually enjoy for a hearty breakfast.
-
How long can I store these waffles in the freezer?
They keep wonderfully for up to six months when stored properly in a sealed freezer bag or container. Just make sure to cool them completely before freezing to avoid ice crystals forming and making them soggy when reheated.
-
Do I have to beat egg whites separately?
While you can skip this step, beating the egg whites separately and folding them in makes a noticeable difference in fluffiness. It’s worth the extra effort if you want light, airy waffles instead of dense ones.
-
Can I make these waffles dairy-free?
Absolutely! Use any plant-based milk like almond, soy, or oat milk as a 1:1 swap for regular milk. Just make sure your plant milk is unsweetened if you prefer a less sweet waffle.
-
What’s the best way to reheat frozen waffles?
Toasting them straight from the freezer in your toaster or toaster oven gives you crispy edges and a fluffy interior. Alternatively, use an air fryer at 350°F for 2-3 minutes or warm a batch on the oven rack at 350°F for 5 minutes. Just avoid microwaving if you want to keep them crispy.
Final Thoughts
This Homemade Freezer Waffles Recipe holds a special spot in my morning routine because it blends delicious homemade waffles with ultimate convenience. I love knowing I can pull out a batch anytime, reheat them quickly, and have a breakfast that still tastes like it’s fresh off the waffle iron. Give this recipe a whirl — I’m confident you’ll appreciate how easy it is and how great it tastes every single time.
Print
Homemade Freezer Waffles Recipe
- Prep Time: 10 minutes
- Cook Time: 5 minutes
- Total Time: 15 minutes
- Yield: About 18 mini waffles 1x
- Category: Breakfast
- Method: Stovetop
- Cuisine: American
Description
This Homemade Freezer Waffles recipe provides a simple and delicious way to prepare waffles in advance and enjoy them fresh anytime. Made with basic pantry ingredients like all-purpose flour, cornstarch, milk, and eggs, these waffles are cooked on a waffle iron until lightly golden, then cooled and frozen for up to six months. Perfect for quick breakfasts, the waffles can be reheated in a toaster oven, air fryer, or oven to regain their crisp texture. The recipe also offers an easy gluten-free substitution.
Ingredients
Dry Ingredients
- 1 ½ cups all-purpose flour
- ¼ cup cornstarch
- 3 Tablespoons granulated sugar
- 2 ¼ teaspoons baking powder
- ¼ teaspoon salt
Wet Ingredients
- 1 cup + 2 Tablespoons milk (any kind)
- 6 Tablespoons vegetable oil, avocado oil, or melted coconut oil
- 2 large eggs, separated
- 1 teaspoon vanilla extract
Instructions
- Prepare Dry Ingredients: In a large bowl, whisk together the all-purpose flour, cornstarch, granulated sugar, baking powder, and salt until well combined.
- Prepare Wet Ingredients: In a separate bowl, mix the milk, vegetable or alternative oil, egg yolks, and vanilla extract until fully incorporated.
- Combine Ingredients: Pour the dry ingredients into the wet ingredients bowl and stir to combine, forming the waffle batter base.
- Preheat Waffle Iron: Turn on your waffle iron and allow it to heat thoroughly to ensure even cooking and crisp waffles.
- Beat Egg Whites: In a clean bowl, use a hand mixer to beat the egg whites until soft peaks form. Gently fold the beaten egg whites into the batter to add lightness and fluffiness.
- Cook Waffles: Grease the hot waffle iron lightly. Pour about a scant ¼ cup of batter per waffle onto the surface and cook until the waffles are just lightly golden – this is slightly less than usual to prevent overcooking when reheated from frozen.
- Cool Waffles: Transfer cooked waffles to a wire rack and let them cool completely to prevent sogginess on the bottoms.
- Freeze Waffles: Once cooled, place waffles in a freezer-safe bag or container. Store in the freezer for up to 6 months.
- Reheat: To enjoy, reheat waffles in a toaster oven until warmed through, or use an air fryer at 350°F (175°C) for 2-3 minutes. Alternatively, reheat several waffles at once by placing them directly on an oven rack and cooking at 350°F (175°C) for about 5 minutes.
Notes
- Yield: About 18 mini waffles. Serving size is 1 mini waffle.
- Gluten Free Option: Substitute with a 1:1 gluten free flour blend. Add a splash of additional milk if the batter becomes too thick.
- For best texture, do not overcook the waffles before freezing.
- Store waffles in a single layer or separated by parchment paper when freezing to prevent sticking.
- Reheating in a toaster oven or air fryer helps maintain crispness compared to microwaving.
Keywords: freezer waffles, make ahead waffles, easy waffle recipe, breakfast waffles, homemade waffles, freezer friendly breakfast