
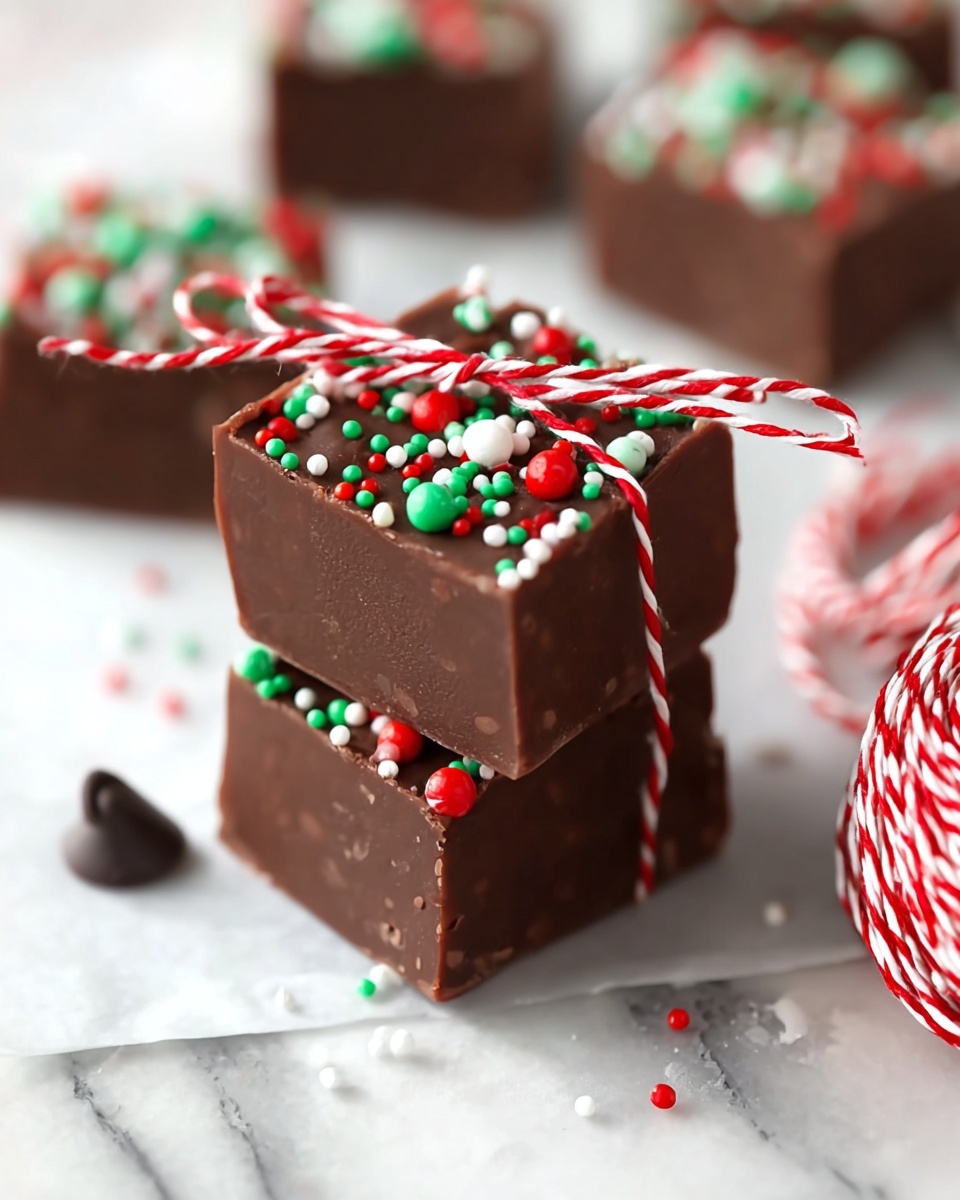
Easy Christmas Fudge Recipe

If you’ve ever wanted a no-fuss, crowd-pleasing sweet treat for the holidays, this Easy Christmas Fudge Recipe is an absolute winner. It’s the kind of recipe you can pull together in about 10 minutes, and yet it feels so special and festive—perfect for gifting or just sneaking a few pieces yourself after everyone goes to bed. I remember the first time I tried making fudge; I was intimidated by the idea of candy thermometers and tricky temperatures, but this recipe totally changed the game for me with its simplicity and reliably creamy texture.
What makes this Easy Christmas Fudge Recipe stand out is the balance of rich chocolate and that buttery, sweet creaminess from the condensed milk. Plus, using sprinkles adds a fun holiday touch without any extra effort. Whether you’re baking alongside your kids or assembling a last-minute gift basket, this fudge never disappoints and always feels like holiday magic. Trust me, once you try this version, it’ll become a staple in your festive dessert lineup.
Ingredients You’ll Need
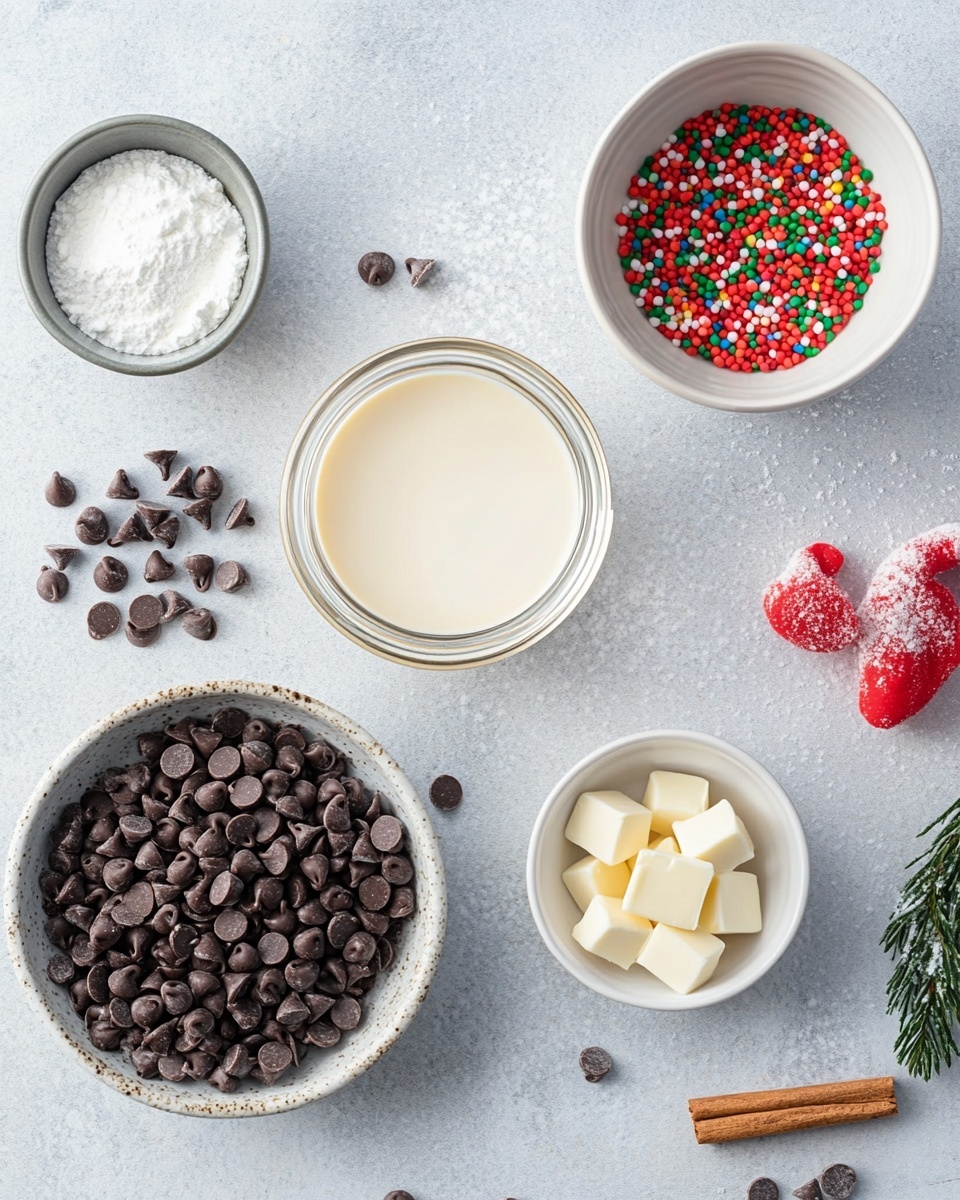
The ingredients here are simple and easy to find, and they blend beautifully to give you that smooth, rich fudge texture. I always recommend using good-quality chocolate chips because they really do make a difference in flavor and texture. And keep those Christmas sprinkles handy—they bring the festive vibe without any extra work.
- Sweetened condensed milk: This gives the fudge its creamy, melt-in-your-mouth texture—look for the 14-ounce cans, which are standard size.
- Semi-sweet chocolate chips: These provide the perfect bittersweet balance, but you can swap for milk chocolate if you prefer something sweeter.
- Butter (salted or unsalted): Adds richness and smoothness; if using salted, you can skip extra salt in the recipe.
- Pure vanilla extract: Just a teaspoon brightens the flavor and makes the fudge taste homemade and warm.
- Christmas sprinkles: I love these for adding a colorful, festive crunch, but you could use crushed candy canes or chopped nuts for texture.
Variations
I like to personalize this Easy Christmas Fudge Recipe a little depending on the occasion—there’s so much room to mix things up! Feel free to experiment with different chocolates or sprinkling toppings to make it your own. It’s your chance to get creative and even cater to special diets or preferences.
- Peanut butter swirl: Add a swirl of peanut butter before the fudge sets—I’ve done this countless times, and it’s a kid-favorite that adds a lovely salty-sweet twist.
- Dairy-free version: Use dairy-free chocolate chips and a vegan butter substitute; I tried this for a friend once and honestly, you’d never guess it’s not the original.
- Nutty mix-ins: Stir in chopped walnuts or pecans for a bit of crunch; I love how nuts add texture and extra flavor complexity.
- Mint chocolate: Add a few drops of peppermint extract instead of vanilla and top with crushed candy canes—instantly turns this fudge into a holiday classic.
How to Make Easy Christmas Fudge Recipe
Step 1: Gather and Prep Your Ingredients
Start by lining a small square baking pan with parchment paper or lightly greasing it—this will make it super easy to lift out your fudge once it’s set. Then, collect your condensed milk, chocolate chips, butter, and vanilla, so everything’s ready to go. Having your sprinkles nearby means you won’t miss that finishing touch.
Step 2: Melt the Chocolate Mixture Gently
In a medium saucepan, combine the sweetened condensed milk, chocolate chips, and butter over low heat. Stir constantly until the chocolate and butter melt smoothly into the condensed milk—this usually takes about 5 minutes. Be patient here; if the heat’s too high or you stop stirring, the chocolate can seize or burn, so keep it gentle and consistent.
Step 3: Add the Vanilla and Pour into Pan
Once everything is melted and silky, remove the pan from the heat and stir in your vanilla extract. Give it a good mix, then pour the mixture into your prepared pan. Spread it evenly, smoothing the top with a spatula to get nice clean edges. Now is the time to sprinkle those festive Christmas sprinkles over the top for a pop of color and holiday cheer.
Step 4: Chill and Cut
Place your fudge in the refrigerator for at least 2 hours to fully set. Patience here is key—cutting too soon means sticky, messy squares that won’t hold their shape. When it’s firm, lift it out using the parchment paper and cut into bite-sized pieces. Easy, right?
How to Serve Easy Christmas Fudge Recipe
Garnishes
I like using bright red and green sprinkles or edible glitter right on top because it instantly makes the fudge look festive and inviting. Sometimes, I toss on a few crushed peppermint candies too, especially if I’ve switched to mint extract—it adds a cool contrast and a bit of crunch that’s just delightful.
Side Dishes
This fudge pairs wonderfully with a warm cup of coffee, hot cocoa, or even eggnog during holiday get-togethers. I often serve it alongside a cheese board for a sweet finish that balances salty flavors perfectly. It’s small, rich, and decadent—like a little festive reward.
Creative Ways to Present
If you’re gifting this fudge, I recommend wrapping pieces individually in wax paper or colorful cellophane bags tied with twine or ribbon. I’ve also layered fudge pieces in decorative tins with parchment paper between layers—that presentation always wows friends and family. For parties, arranging the fudge on a pretty platter with holly or pine sprigs adds that extra holiday charm effortlessly.
Make Ahead and Storage
Storing Leftovers
I keep leftover fudge stored in an airtight container in the fridge, and it stays fresh and firm for up to two weeks. I’ve found that letting it come to room temperature for about 10-15 minutes before serving really brings out its creamy texture and flavor without it becoming too soft or sticky.
Freezing
Freezing fudge works like a charm if you want to prep way ahead of holiday hosting. Just wrap individual pieces tightly in plastic wrap and place them in a freezer-safe container. When I’ve done this, the fudge freezes well for up to 3 months. Thaw in the refrigerator overnight to keep the shape perfect.
Reheating
While fudge is best enjoyed chilled or at room temperature, if you want to soften it slightly, I warm it gently in the microwave for just 5-7 seconds at a time. Be careful—it melts fast! I usually prefer just a quick hold outside the fridge to bring out that melt-in-your-mouth feel.
FAQs
-
Can I use white chocolate instead of semi-sweet chocolate chips?
Yes, you absolutely can! Using white chocolate will give your fudge a sweeter and creamier flavor. Just keep an eye on melting since white chocolate can scorch more easily. Lower heat and slow stirring will help keep it smooth.
-
Do I need a candy thermometer for this Easy Christmas Fudge Recipe?
Nope! That’s the beauty of this recipe—you melt everything gently without worrying about exact temperatures. It’s perfect for fudge beginners who want delicious results without the fuss of candy thermometers.
-
How long does this fudge take to set?
I recommend chilling it for at least 2 hours in the fridge to firm up completely. Depending on your fridge temperature, it might take a little longer, but 2 hours is a good minimum to get clean cuts.
-
Can I make this Easy Christmas Fudge Recipe ahead of time for holiday parties?
Definitely! This fudge keeps well in the fridge for up to two weeks and freezes beautifully too. It’s excellent for prepping in advance so you’re not scrambling last minute during the holidays.
-
What if my fudge is too soft after chilling?
If your fudge didn’t set up as firm as expected, it could be due to warm ingredients or not enough chilling time. Try placing it back in the fridge or even the freezer for a short time. Next time, make sure to avoid overheating when melting ingredients.
Final Thoughts
This Easy Christmas Fudge Recipe is one of those cozy, reliable treats that makes the holidays feel even sweeter. It’s quick, forgiving, and creates that perfect blend of creamy chocolate and buttery goodness that everyone loves. I hope you enjoy making it as much as I do—think of it like sharing a warm hug in fudge form with your family and friends. Give it a try this season, and I promise it’ll become your go-to recipe for festive cheer in no time!
Print
Easy Christmas Fudge Recipe
- Prep Time: 10 minutes
- Cook Time: 10 minutes
- Total Time: 2 hours 20 minutes
- Yield: 36 small squares 1x
- Category: Dessert
- Method: Stovetop
- Cuisine: American
Description
This Easy Christmas Fudge is a rich, creamy, and festive treat perfect for holiday celebrations. Made with just a few simple ingredients, including sweetened condensed milk, semi-sweet chocolate chips, butter, and vanilla extract, this no-bake fudge is incredibly quick to prepare. Topped with colorful Christmas sprinkles, it makes a delightful addition to any holiday dessert table or gift basket.
Ingredients
Fudge Base
- 14-ounce can sweetened condensed milk
- 3 cups semi-sweet chocolate chips
- ¼ cup butter (salted or unsalted)
- 1 teaspoon pure vanilla extract
Toppings
- 2–3 tablespoons Christmas sprinkles
Instructions
- Prepare the Pan: Line an 8×8 inch baking pan with parchment paper or lightly grease it to ensure easy removal of the fudge once set.
- Melt the Ingredients: In a medium saucepan over low heat, combine the sweetened condensed milk, semi-sweet chocolate chips, and butter. Stir continuously until the mixture is completely melted and smooth, taking care not to burn the chocolate.
- Add Vanilla: Remove the saucepan from heat and stir in the pure vanilla extract until evenly incorporated.
- Pour and Spread: Pour the fudge mixture into the prepared pan, spreading it evenly with a spatula.
- Add Sprinkles: Immediately sprinkle the Christmas sprinkles evenly over the top of the fudge before it starts to set to ensure they stick.
- Chill and Set: Place the pan in the refrigerator for at least 2 hours, or until the fudge is firm enough to cut.
- Cut and Serve: Once set, lift the fudge out of the pan using the parchment paper and cut it into small squares. Serve chilled or at room temperature.
Notes
- Use parchment paper for easy removal and clean edges.
- Ensure low heat during melting to avoid scorching the chocolate.
- Customize sprinkles to suit different holiday themes or occasions.
- Store fudge in an airtight container in the refrigerator for up to 2 weeks.
- Allow fudge to come to room temperature for a softer texture before serving if desired.
Keywords: Christmas fudge, easy fudge recipe, holiday dessert, no-bake fudge, chocolate fudge, festive treats